


Tesla taillight assembly repairs address cracks or breaks caused by various factors. This targeted approach involves swapping parts like lenses or housings, saving time and money while preserving the factory finish. Gather essential tools, identify specific parts needed, and procure correct replacements accurately. The repair process includes disassembling, cleaning, applying adhesive for new lenses, curing, reattaching components, and testing functionality for proper alignment upon reassembly. Collision repair services are available if needed.
“Experience a cracked or broken Tesla taillight lens? You’re not alone. Even the most careful drivers can face these common issues. This comprehensive guide delves into the root causes of Tesla taillight assembly failures and provides a detailed, step-by-step repair process. Armed with the right tools and insights, you’ll learn how to effectively replace damaged lenses, ensuring your Tesla’s safety features remain operational. Get ready to restore clarity to your rearview with this expert-level Tesla taillight assembly repair tutorial.”
- Understanding Tesla Taillight Assembly Failures
- Gathering Tools and Identifying Parts
- Step-by-Step Guide to Repair Process
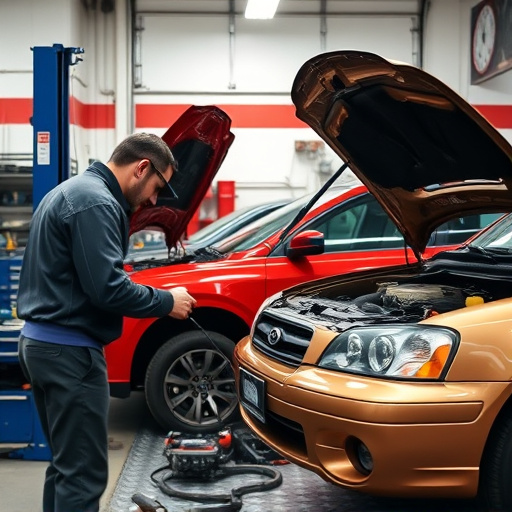
Understanding Tesla Taillight Assembly Failures
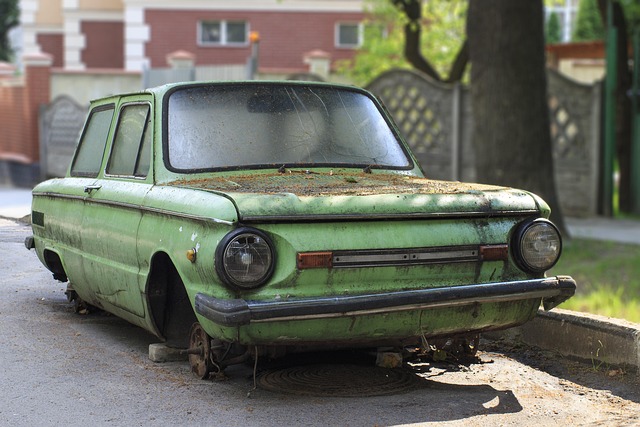
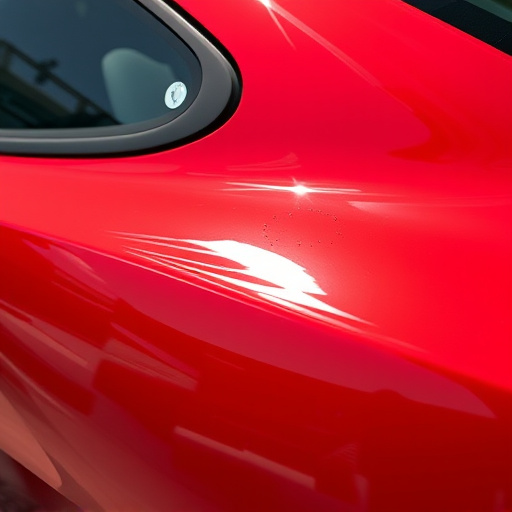
Tesla taillight assembly repairs are often necessitated by cracks or breaks in the lenses, which can occur due to various reasons. The high-quality materials and advanced technology used in Tesla vehicles make them resistant to everyday wear and tear, but they’re not immune to damage. Impact from debris on the road, such as rocks or bugs, is a common cause of lens fractures. Extreme weather conditions, including frost and ice buildup, can also contribute to cracks, especially if the vehicle isn’t maintained properly.
Additionally, manufacturing defects or issues with the assembly itself might lead to early failure of the taillight components. Unlike some car models where repairs may involve replacing entire assemblies, Tesla taillight assembly repair typically focuses on swapping out individual parts like lenses, housings, or LED modules. This targeted approach not only saves time and money but also ensures that your vehicle retains its original factory finish, making it a viable option before considering more extensive car body repair or car paint services.
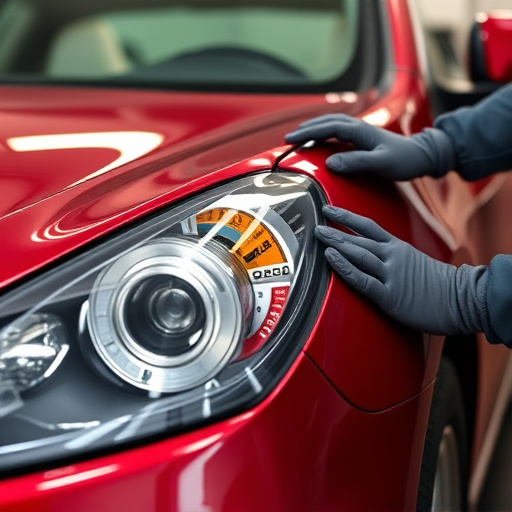
Gathering Tools and Identifying Parts
Before diving into the Tesla taillight assembly repair process, ensure you have all the necessary tools readily available. This may include basic hand tools like screwdrivers and pliers, as well as specialized equipment such as a heat gun for softening and removing cracked lenses. It’s also crucial to identify the specific parts needed, which can often be sourced from your local auto parts store or through Tesla’s official replacement parts channel.
Properly identifying the required components is key. For instance, you’ll need to distinguish between the taillight assembly itself, the housing, and the lenses. In some cases, a simple lens replacement might suffice if only the outer layer is damaged, but for more severe cracks or breaks, a complete assembly swap may be necessary. Leveraging online resources or consulting with a professional in car bodywork services can help ensure you get the right parts for a successful Tesla taillight assembly repair.
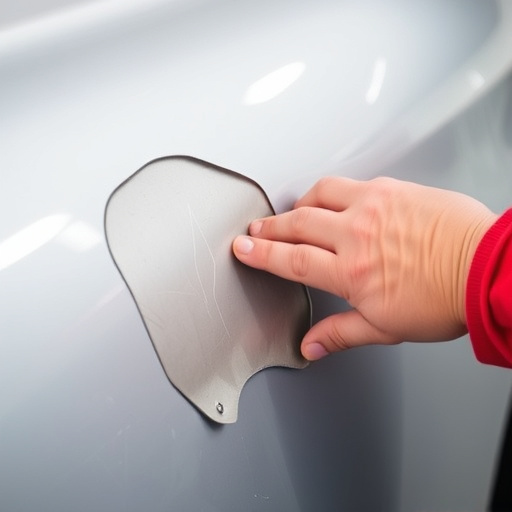
Step-by-Step Guide to Repair Process
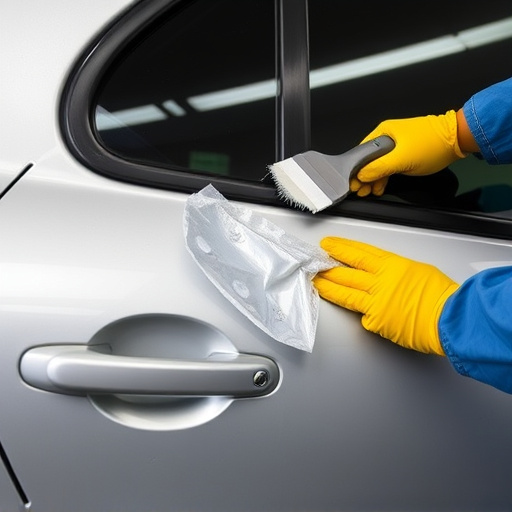
Repairing a cracked or broken Tesla taillight assembly is a process that can be accomplished with the right tools and a step-by-step approach. First, gather all necessary materials, including replacement lenses, adhesive suitable for automotive use, and safety gear like gloves and eye protection. Next, locate the damaged taillight assembly, usually mounted on the car’s rear panel. Remove any debris or dirt around the area to ensure a clean surface for repair.
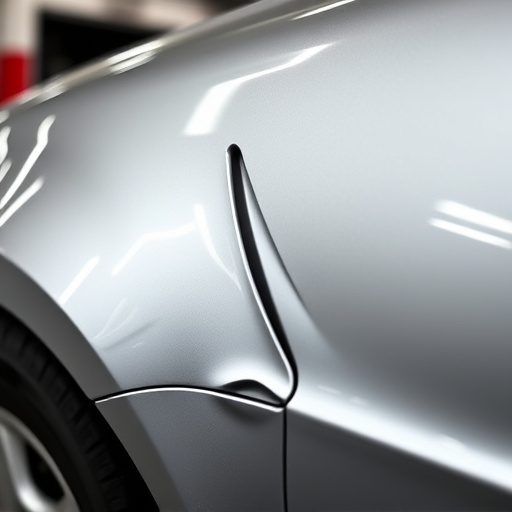
Begin by carefully disassembling the taillight, separating the lens from the housing. Inspect both components for damage, ensuring the housing is in good condition before proceeding. Clean the surfaces thoroughly with a degreaser to eliminate any residue. Apply a thin layer of adhesive along the edge of the housing and carefully align the new lens, pressing it firmly into place. Allow the adhesive to cure according to the manufacturer’s instructions, typically a few hours. Once cured, reattach any removed components, ensuring proper alignment for a seamless fit. Test the taillight functionality before returning the assembly to its original position on the car body, utilizing collision repair services if necessary.
Repairing a cracked or broken Tesla taillight assembly is a feasible DIY project for vehicle owners. By understanding the common failures, gathering the necessary tools, and following a step-by-step guide, you can effectively restore your Tesla’s taillights to their original condition. This process not only saves costs but also ensures your vehicle’s safety and compliance with road regulations. Remember, a well-maintained Tesla taillight assembly is key to enhancing visibility and preventing accidents, making it a crucial aspect of vehicle upkeep.