

Tesla taillight assemblies are prone to defects causing uneven illumination and color mismatch. Regular checks and prompt repair, including replacement if necessary, ensure safety and maintain aesthetic integrity. A step-by-step guide outlines inspecting for damage, testing bulbs with a multimeter, realigning reflectors, removing faulty units, preparing new assemblies, precise installation, and curing adhesive to achieve optimal light function through Tesla taillight assembly repair.
Are you experiencing uneven illumination or color mismatch in your Tesla’s taillights? This guide dives into the common issues plaguing Tesla taillight assemblies and offers a step-by-step repair solution. Understanding the diagnostics behind uneven lighting and color mismatch is key to successfully repairing your vehicle’s taillight assembly, ensuring consistent and optimal illumination for safety and aesthetics. Let’s explore how to fix these Tesla taillight problems once and for all.
- Understanding Tesla Taillight Assembly Issues
- Diagnosing Uneven Illumination and Color Mismatch
- Step-by-Step Repair Guide for Consistent Lighting
Understanding Tesla Taillight Assembly Issues
Tesla taillight assemblies can experience a range of issues, leading to uneven illumination or color mismatch. These problems often stem from various factors such as manufacturing defects, exposure to extreme weather conditions, and regular wear and tear. Over time, components within the assembly may become damaged or misaligned, affecting the overall performance and aesthetic appeal of the taillights.
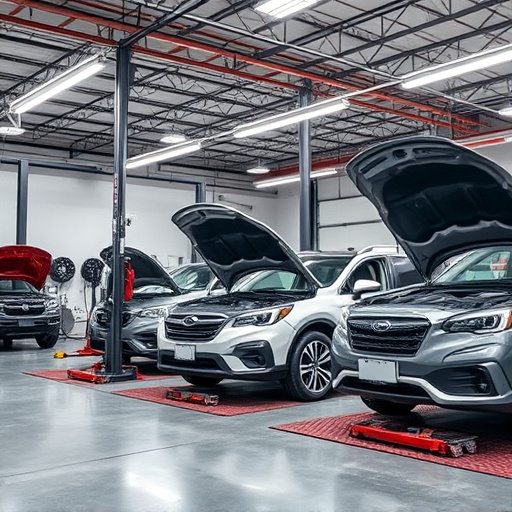
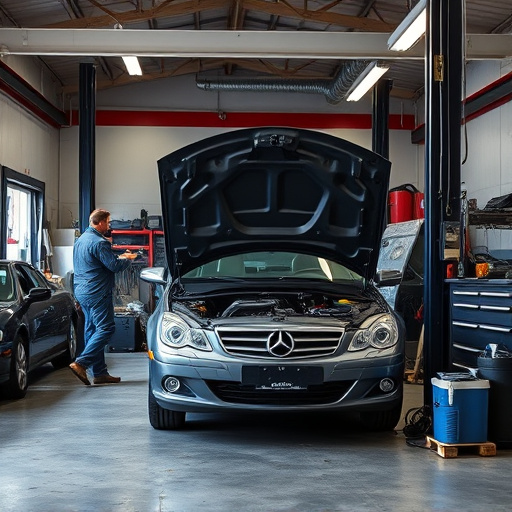
Proper functioning and appearance of Tesla taillights are crucial for both safety and style. If you notice any irregularities in their operation, it’s essential to address them promptly. Auto painting and car bodywork services can play a significant role here, ensuring that repairs are done accurately to match the vehicle’s original specifications. Regular auto maintenance also includes checking and replacing faulty parts within the taillight assembly, preventing further complications.
Diagnosing Uneven Illumination and Color Mismatch

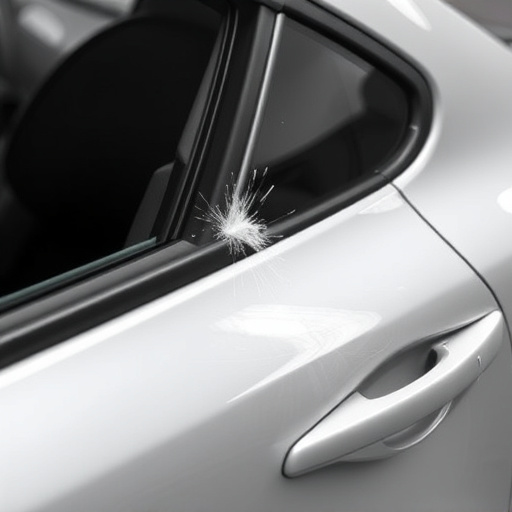
Uneven illumination or color mismatch in Tesla taillights can be frustrating and safety-compromising issues. To diagnose the problem, first, inspect the taillight assembly for any visible damage, cracks, or loose connections. These could be signs of a broken filament, faulty wiring, or misaligned components within the assembly. Next, test each light bulb to identify if one is defective. A multimeter can help you check the voltage and current flow to confirm bulb functionality. Sometimes, the issue lies with the reflectors, which may have become tarnished or misaligned over time, affecting light distribution. If the problem persists after these initial checks, it might be time to consider a Tesla taillight assembly repair at a reputable auto body shop, where they can diagnose and fix issues related to the car paint repair and bumper repair, ensuring your lights function optimally.
Step-by-Step Repair Guide for Consistent Lighting
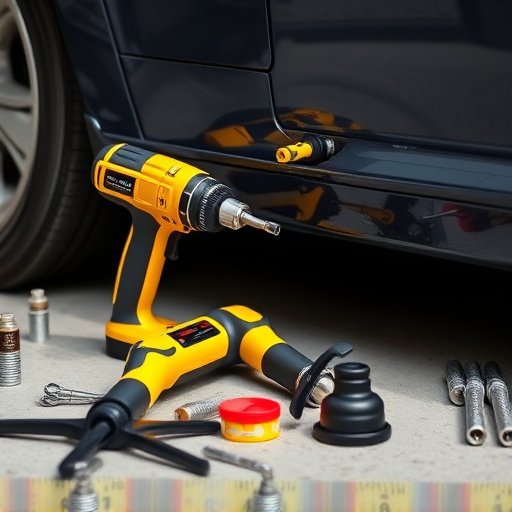
To ensure consistent lighting in your Tesla’s taillights, follow this step-by-step guide for a successful Tesla taillight assembly repair. First, gather all necessary tools and replacement parts, including a new taillight assembly, heat gun (for softening the old adhesive), hair dryer (for precise temperature control), and a screwdriver set compatible with your Tesla model. Next, locate the faulty taillight by inspecting the vehicle’s rear end for any signs of damage or misalignment. Remove the damaged taillight carefully, taking note of its orientation and any associated components.
With the old taillight removed, it’s time to prepare the new one. Heat the adhesive around the edges of the old taillight with a heat gun to soften it, making it easier to remove. Use a hair dryer for precise temperature control to prevent over-heating or damaging nearby components. Once the adhesive is softened, gently pull the old taillight out, ensuring no damage to the housing or lens. Install the new taillight assembly by aligning it precisely with the vehicle’s mounting points. Apply a thin layer of high-quality adhesive along the edges and press firmly for a secure fit. Allow the adhesive to cure according to the manufacturer’s instructions before testing the taillights’ functionality.
Repairing a Tesla taillight assembly that exhibits uneven illumination or color mismatch is a straightforward process that can be accomplished with basic tools and a step-by-step guide. By understanding the common issues and following a structured approach, you can ensure consistent lighting across your Tesla’s tail lights. This DIY repair method not only saves costs but also allows you to maintain your vehicle’s aesthetic appeal, keeping it looking as vibrant and pristine as when it rolled off the lot. For any unforeseen challenges, remember that a wealth of resources and support is available in the Tesla community.