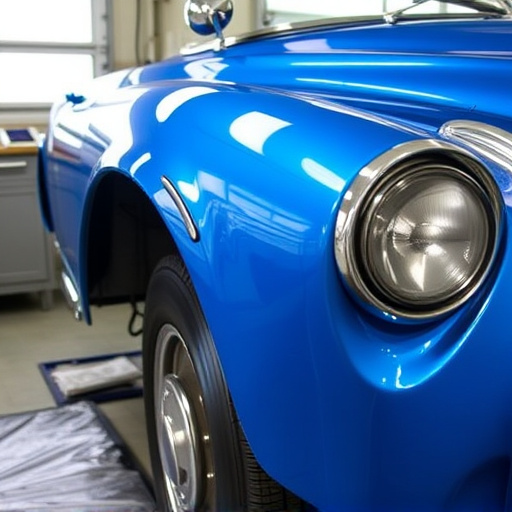


Tesla taillight assemblies require regular maintenance and repairs to prevent safety hazards. Damage can lead to broken lenses, faulty bulbs, and misalignment. Timely repair using high-quality LED replacements from specialized centers ensures optimal visibility, enhances vehicle safety, and increases resale value. This guide offers a step-by-step process for DIY or professional Tesla taillight assembly repair, emphasizing the use of high-quality, Tesla-specific parts.
“Facing flickering or malfunctioning Tesla taillights? Learn how to tackle common issues with a simple DIY approach. This guide delves into the process of repairing and replacing your Tesla taillight assembly using high-quality LED replacements.
Discover the numerous benefits of this upgrade, from improved visibility and reduced power consumption to enhanced durability. By following our step-by-step instructions, you’ll master the art of Tesla taillight repair, ensuring a safer and brighter drive.”
- Understanding Tesla Taillight Assembly Issues
- Benefits of Upgrading to High-Quality LED Tails
- Step-by-Step Guide: Repair and Replacement Process
Understanding Tesla Taillight Assembly Issues

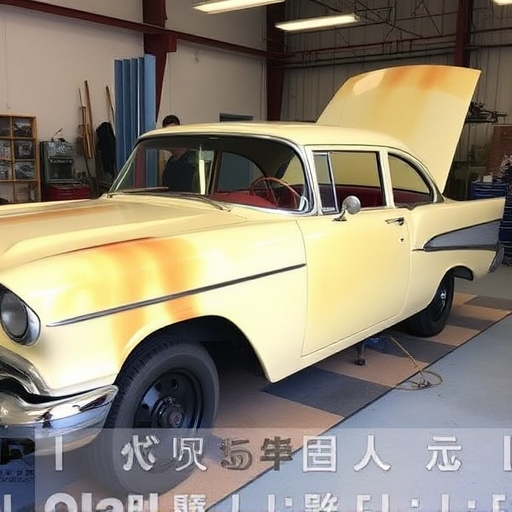
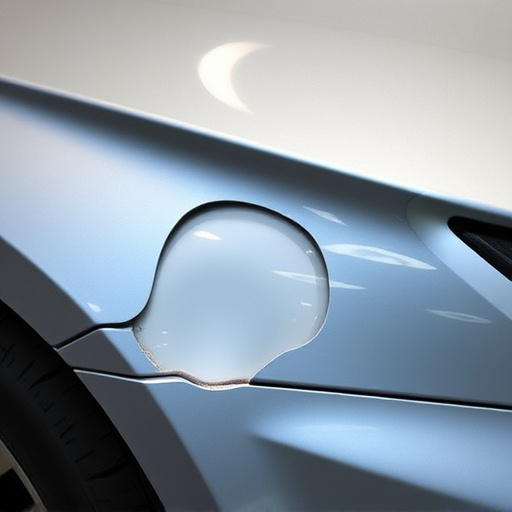
Tesla taillight assemblies can encounter various issues over time, affecting both their functionality and aesthetics. Common problems include broken or cracked lenses, faulty bulbs, loose connections, and misaligned components. These issues may arise due to normal wear and tear, environmental factors, or even a vehicle collision. For instance, a Mercedes Benz repair involving a taillight assembly might require replacement parts and skilled technicians to ensure the safety and integrity of the tail lights, which are crucial for nighttime visibility on the road.
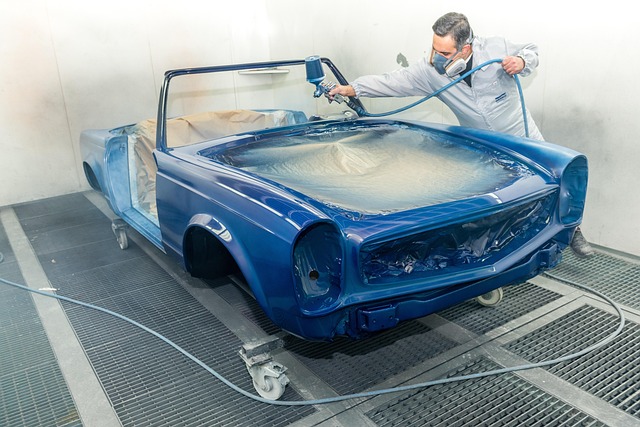
Proper maintenance and timely repairs are essential to prevent these issues from escalating. If you notice any cracks or damage, it’s advisable to seek Tesla taillight assembly repair services from a qualified mechanic or specialized collision repair center. High-quality LED replacements can significantly enhance the durability and performance of your vehicle’s tail lights, ensuring they function optimally and meet safety standards, much like how a well-maintained Mercedes Benz repairs its lighting systems to restore its original splendor.
Benefits of Upgrading to High-Quality LED Tails
Upgrading to high-quality LED tails for your Tesla taillight assembly repair offers numerous advantages that enhance both performance and aesthetics. These energy-efficient LEDs consume less power, extending battery life and reducing maintenance costs associated with traditional incandescent bulbs. They also boast a longer lifespan, ensuring reliable lighting for years to come. From a visual perspective, LED tail lights provide a brighter, more vivid light output, improving nighttime visibility and making your vehicle more noticeable on the road.
Moreover, high-quality LED replacements contribute to better vehicle restoration or even mercedes benz repair projects. They are designed to precisely fit most Tesla models, ensuring a seamless install that restores your car’s original appearance. This meticulous attention to detail not only enhances the overall look but also reinforces the value of your vehicle in the market, as a well-maintained and upgraded car commands higher resale prices, reflecting the modern and innovative spirit of car restoration enthusiasts.
Step-by-Step Guide: Repair and Replacement Process

Step-by-Step Guide: Repair and Replacement Process
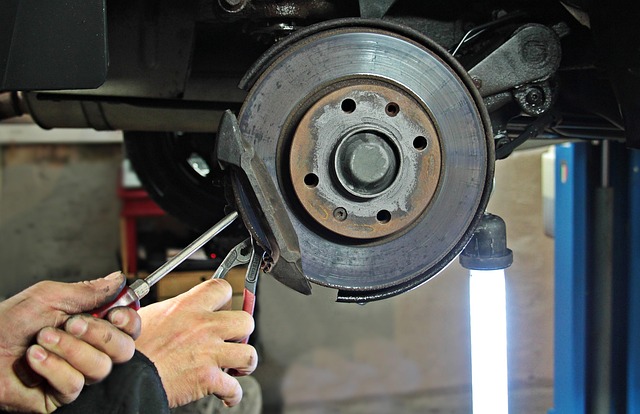
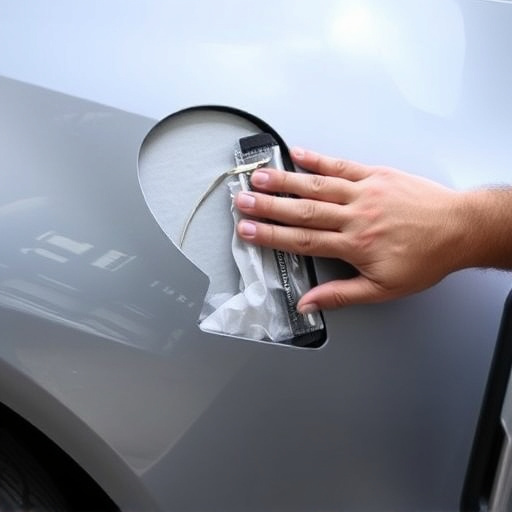
The Tesla taillight assembly repair involves several precise steps to ensure a high-quality LED replacement. Begin by gathering the necessary tools, including a screwdriver suitable for your vehicle, a new set of LED taillights designed specifically for Teslas, and any required adapters or connectors. Next, locate the taillight assemblies, typically on the rear of the car. With the car parked in a well-lit area, power off the vehicle and engage the parking brake for safety. Remove the existing taillights by unscrewing the bolts securing them to the body, taking care not to damage any surrounding components.
Once the old parts are removed, inspect the car’s bodywork around the taillight openings to ensure there’s no significant damage or debris accumulation. Clean the areas thoroughly and verify that the new LED taillights align correctly with the mounting holes. Install the new LEDs by securing them tightly with the appropriate bolts. Double-check all connections for a secure fit, ensuring proper alignment and functionality. If you’re not comfortable handling this repair yourself, consider seeking professional body shop services for a seamless Tesla taillight assembly repair, focusing on both precision and safety.
Upgrading your Tesla’s taillight assembly with high-quality LED replacements is a straightforward process that offers significant benefits, including enhanced visibility, improved durability, and a modern aesthetic. By following the step-by-step guide outlined in this article, you can efficiently restore your vehicle’s taillight functionality and safety. Remember, a well-maintained Tesla taillight assembly ensures a smoother driving experience and peace of mind on the road.