


Leaking or cracked Tesla taillight assemblies are common due to weather and minor impacts. Regular maintenance checks prevent escalation. If issues detected, consult a professional auto body shop specializing in Tesla taillight assembly repair for diagnosis and tailored solutions. This includes inspecting gaskets for damage, leaks, or cracks, and performing paintless dent repair to restore appearance. DIY repair possible with replacement gasket, tools, and step-by-step guide ensuring water-tight seal.
Struggling with a leaking or cracked gasket in your Tesla taillight assembly? This comprehensive guide is your solution. We break down the common causes of these issues and provide a step-by-step approach to effectively repairing your Tesla taillight assembly. From understanding gasket damage to practical troubleshooting tips, this article equips you with the knowledge needed to tackle the problem head-on. Get ready to restore your vehicle’s lighting system like new.
- Understanding Tesla Taillight Assembly Leaks and Cracks
- Diagnosing the Problem: Gasket Damage Assessment
- Step-by-Step Guide to Repairing Your Taillight Assembly
Understanding Tesla Taillight Assembly Leaks and Cracks
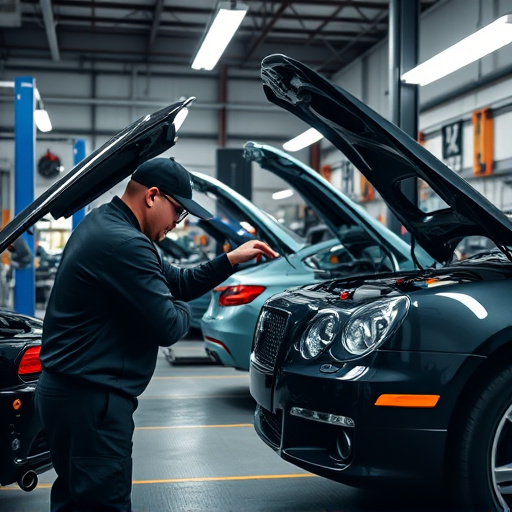
Leaking or cracked Tesla taillight assemblies can be a frustrating issue for any vehicle owner. Understanding the root causes behind these problems is the first step in addressing them effectively. Over time, exposure to varying weather conditions, such as extreme heat and cold, can weaken the seals within the taillight assembly, leading to leaks. Additionally, minor impacts or bumps during parking or driving might cause cracks to form along the gasket areas, resulting in water intrusion and potential electrical issues.
Regular maintenance checks are crucial in preventing these issues from escalating. If you notice any signs of moisture buildup around your taillights or small cracks, it’s recommended to consult a professional auto body shop for an inspection. Auto body repairs specialists can accurately diagnose the problem and provide tailored solutions, whether it involves replacing damaged gaskets or repairing other components within the Tesla taillight assembly.
Diagnosing the Problem: Gasket Damage Assessment
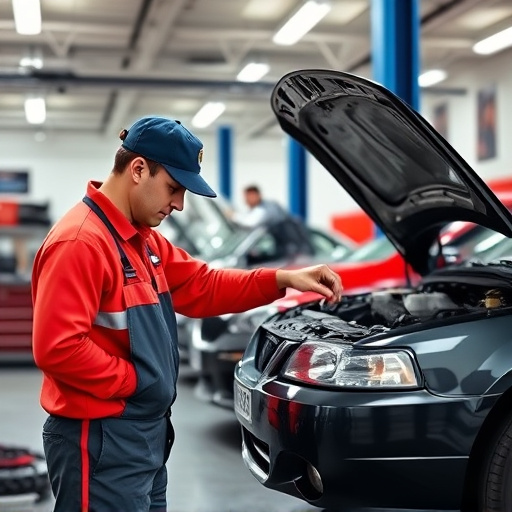
Diagnosing the problem starts with a thorough inspection of the Tesla taillight assembly. The first step is to carefully examine the gasket for any signs of damage, cracks, or leaks. Often, a simple visual check can reveal if the gasket needs replacement. Look for broken or missing parts, as these are clear indicators that the gasket requires repair or a complete overhaul.
If you suspect a leak or damaged areas on your Tesla’s taillight assembly, don’t delay; address it promptly at a reliable auto body shop. They have the expertise to assess and perform repairs using techniques like paintless dent repair for more intricate cases, ensuring your vehicle looks as good as new, much like in a classic car restoration process.
Step-by-Step Guide to Repairing Your Taillight Assembly

Repairing your Tesla taillight assembly is a feasible DIY project if you’re handy with tools and have some mechanical knowledge. Here’s a step-by-step guide to help you tackle this task efficiently, ensuring a secure and water-tight seal. Begin by purchasing a replacement gasket, which can usually be found at specialized automotive stores or online retailers catering to Tesla owners. Next, gather your tools: a screwdriver, pliers, and possibly a heat gun for softening the old adhesive.
Remove the damaged taillight assembly from your vehicle, taking note of how it’s attached. Clean the area thoroughly to ensure no debris or residue remains. With the help of a partner, carefully pull out the old gasket while applying heat with the heat gun if needed. Once removed, inspect both the light assembly and the bumper for any additional damage that may have contributed to the leak. Replace any faulty components, such as cracked plastic parts or misaligned hardware, before reinstalling the new gasket. Ensure all pieces fit snugly, and double-check for any leaks by spraying water around the seals. If everything is secure, your Tesla taillight assembly repair is complete, leaving you with a safer driving experience and a pristine car body that’s proud to show off its restored beauty.
Repairing a Tesla taillight assembly that has a leaking or cracked gasket is a manageable task with the right knowledge. By understanding the common causes of these issues and following a structured approach, you can effectively address the problem. The step-by-step guide provided offers a clear roadmap for DIY enthusiasts to tackle this repair, ensuring your Tesla’s lighting system functions optimally and safely. Remember, timely intervention on gasket damage can prevent further complications, keeping both your vehicle and budget happy.