


Regular inspections key to identifying Tesla taillight assembly damage from road debris, collisions, weather. Repairs simplify and save costs with proper tools, like precision screwdrivers and replacement lens kits. Complex damage or lack of confidence prompts specialized collision center for swift, safe results focused on Tesla taillight assembly repair.
Need a quick fix for your cracked or broken Tesla taillight lenses? This comprehensive guide walks you through the process of repairing your Tesla taillight assembly, saving you time and money. Understanding common causes of damage and the tools needed, you’ll master replacing those worn-out lenses in no time. Follow our step-by-step instructions for a seamless restoration of your vehicle’s safety and aesthetic appeal.
- Understanding Tesla Taillight Assembly Damage
- Tools and Materials Required for Repair
- Step-by-Step Guide to Replace Cracked Lenses
Understanding Tesla Taillight Assembly Damage
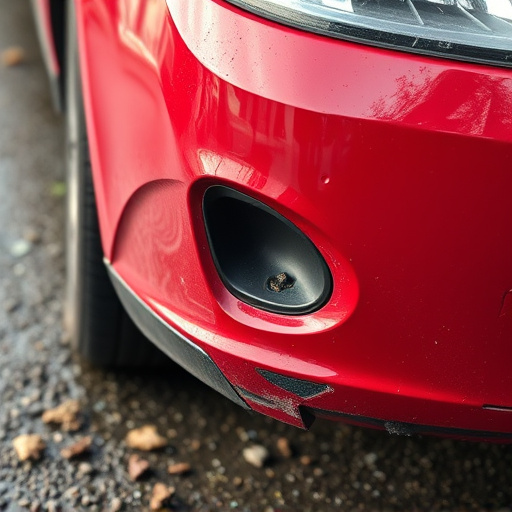
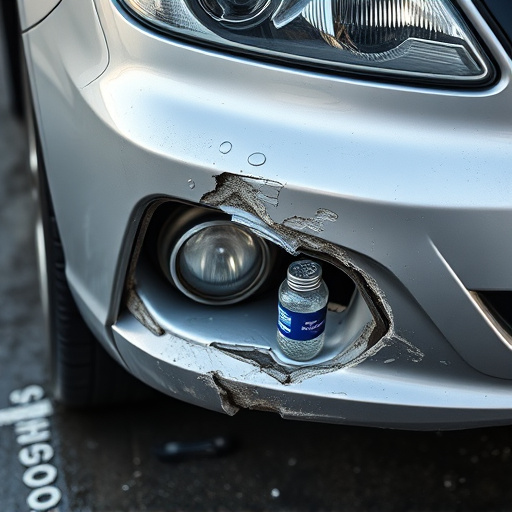
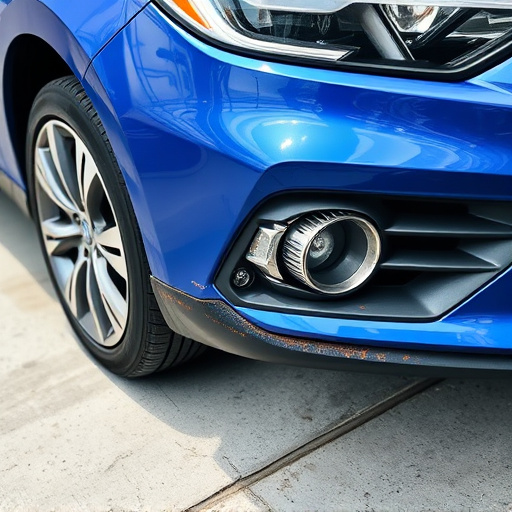
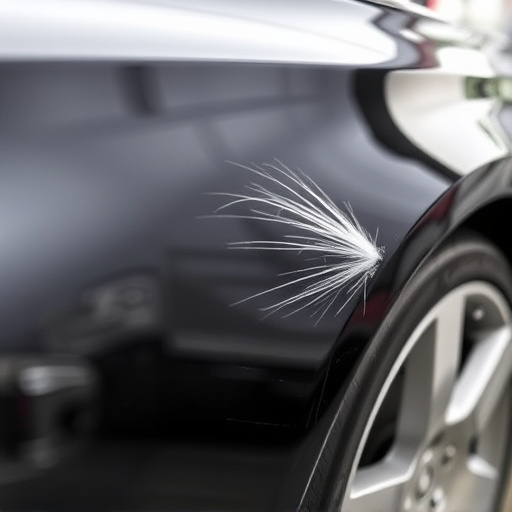
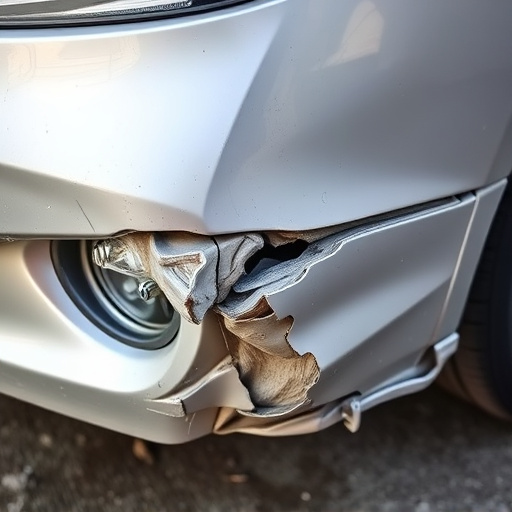
Tesla taillight assembly damage can occur due to various reasons, making Tesla taillight assembly repair a common need for owners. Cracks or breaks in the lenses are often the primary issues, usually caused by road debris, minor collisions, or even extreme weather conditions. These damages not only affect the aesthetic appeal of the vehicle but also compromise the safety features designed into the taillights, such as brake lights and turn signals.
Identifying the problem early is crucial for Tesla taillight assembly repair. Regular inspection can help detect slight cracks before they spread, making the repair process simpler and less costly. Visiting a reputable car repair shop or collision center equipped with specialized tools and expertise ensures that the repair is done accurately and efficiently, restoring your Tesla’s taillight functionality and safety to optimal conditions.
Tools and Materials Required for Repair
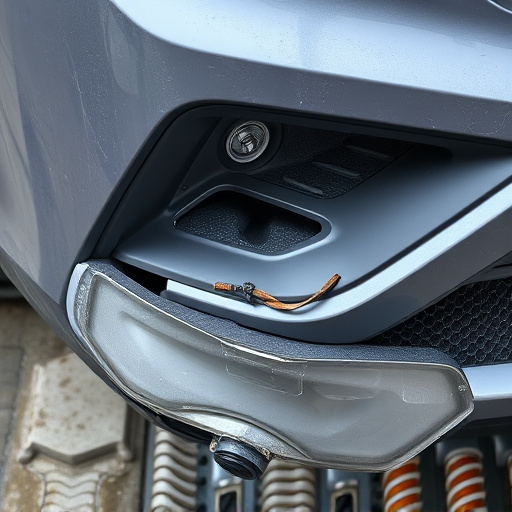
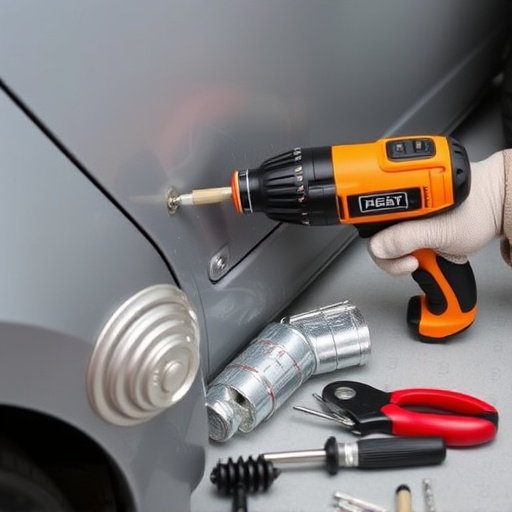
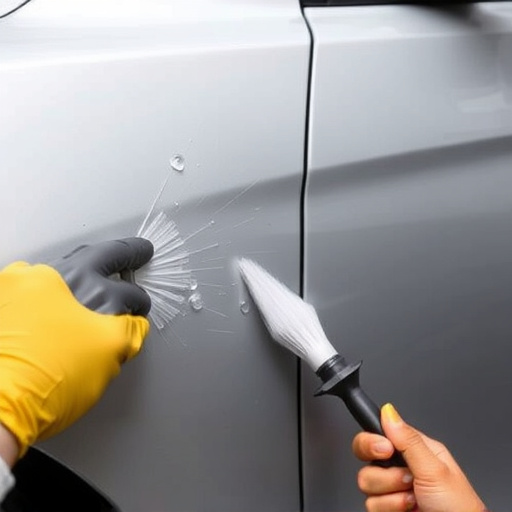
To undertake a Tesla taillight assembly repair for cracked or broken lenses, you’ll need several specific tools and materials. This includes a set of precision screwdrivers (both flathead and Phillips), a small pair of pliers, and a replacement taillight lens kit—ensure these are compatible with your Tesla model. For the best results, consider acquiring these items from a trusted automotive parts supplier to guarantee quality and authenticity.
Additionally, having some basic auto body repair tools on hand, such as a putty knife for removing old adhesive and a microfiber cloth for polishing, will facilitate a more thorough and professional job. While many owners may opt to handle this task themselves, if the damage is extensive or you lack confidence in your abilities, consider visiting a specialized collision center where trained professionals can swiftly and safely complete the Tesla taillight assembly repair.
Step-by-Step Guide to Replace Cracked Lenses
Replacing cracked or broken Tesla taillight lenses is a straightforward process that can be completed with the right tools and a bit of patience. Start by identifying the damaged lens—this could be a result of an accident, road debris, or simply wear and tear. Next, gather your materials: a new taillight lens compatible with your Tesla model, a screwdriver (often a Phillips head), and possibly some rubber gloves to protect your hands from any sharp edges.
Turn off the car’s power and ensure it’s in park for safety. Loosen and remove the broken lens by unscrewing any securing hardware using the appropriate tool. Carefully pull out the old lens, being mindful of any wiring or electrical components nearby. Clean the area thoroughly to ensure a good bond with the new lens. Insert the new lens, ensuring proper alignment, and secure it with the screws. Double-check that all components are firmly in place before testing the taillights’ functionality. This step-by-step guide can help you efficiently perform a Tesla taillight assembly repair, enhancing your vehicle’s safety and aesthetic appeal, comparable to that of a mercedes benz collision repair but tailored to your electric vehicle.
Repairing a cracked or broken Tesla taillight lens is an achievable task with the right tools and knowledge. By understanding the common causes of damage to the Tesla taillight assembly, you can take preventive measures to prolong its lifespan. The process involves acquiring specific tools and materials, then following a straightforward step-by-step guide for a successful replacement. With these steps, you’ll be able to safely and effectively restore your Tesla’s taillights to their original condition, enhancing safety and aesthetics on the road.