


Water damage in Tesla taillight assemblies is a common issue due to moisture intrusion, leading to corrosion, electrical failures, and assembly breakdown. To prevent this, conduct regular inspections and address issues promptly. For repairs, disassemble and clean components, inspect for damage, replace as needed, and reassemble with new bolts for secure connections. Test functionality after repair for safe driving.
Experience water intrusion in your Tesla’s taillight assembly? Don’t panic! This guide walks you through repairing your taillight assembly after moisture damage. We break down the common causes, disassembly process, and step-by-step replacement instructions to help you get back on the road safely and securely. Learn how to effectively address Tesla taillight assembly repair for optimal vehicle performance and longevity.
- Understanding Water Damage in Tesla Taillight Assemblies
- Disassembling and Cleaning the Taillight Assembly
- Replacement and Reassembly: A Step-by-Step Guide
Understanding Water Damage in Tesla Taillight Assemblies
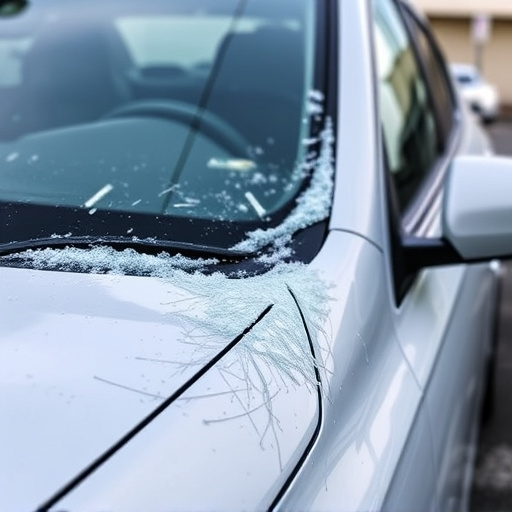
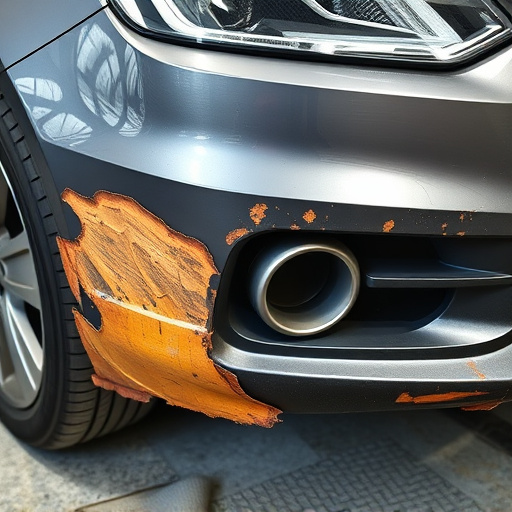
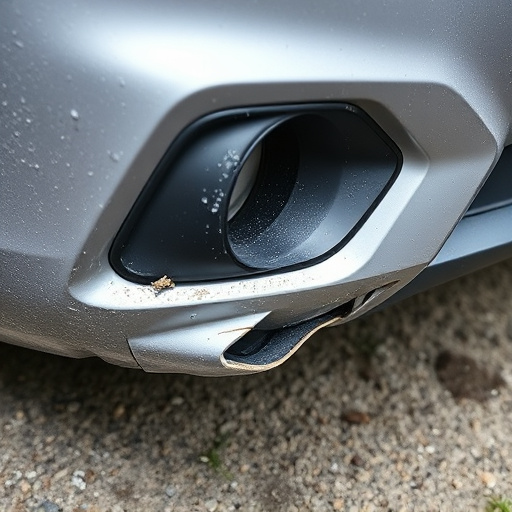
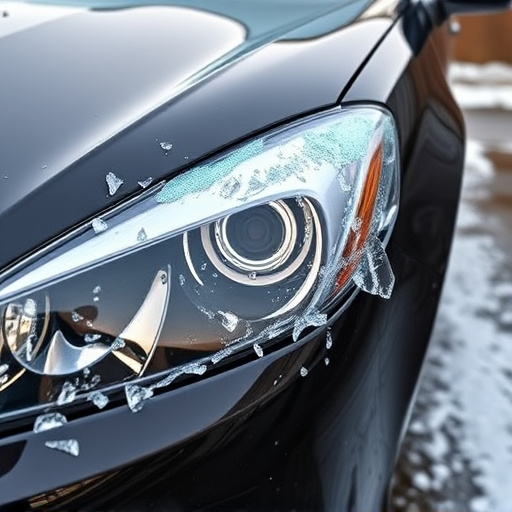
Water damage in Tesla taillight assemblies can occur due to various reasons, often stemming from moisture intrusion. Common entry points include seals around the taillight, gaps in the fender, or even damaged gutters directing water towards the lights. Once inside, water can cause corrosion, short-circuit electrical components, and eventually lead to complete failure of the taillight assembly. It’s crucial to address this issue promptly as it not only impacts safety but also ensures a longer lifespan for your vehicle’s lighting system.
Regular inspections and timely repairs are key to mitigating water damage risks. If moisture is detected or signs of corrosion appear, it might be necessary to replace the affected components or even the entire taillight assembly. Relying on professional body shop services that offer Tesla taillight assembly repair can help ensure your vehicle’s lights function optimally while protecting against future water-related issues, alongside any required fender repair or car paint repair work.
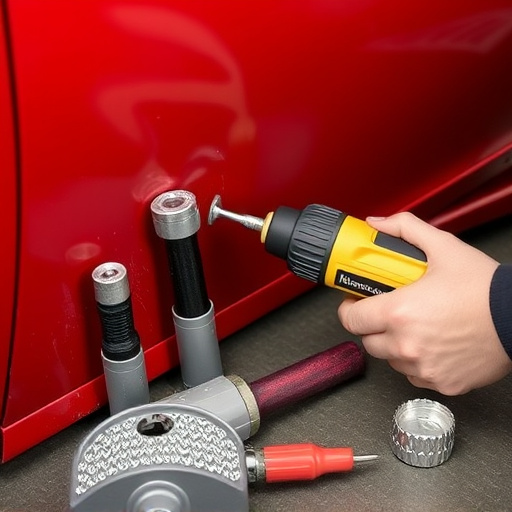
Disassembling and Cleaning the Taillight Assembly
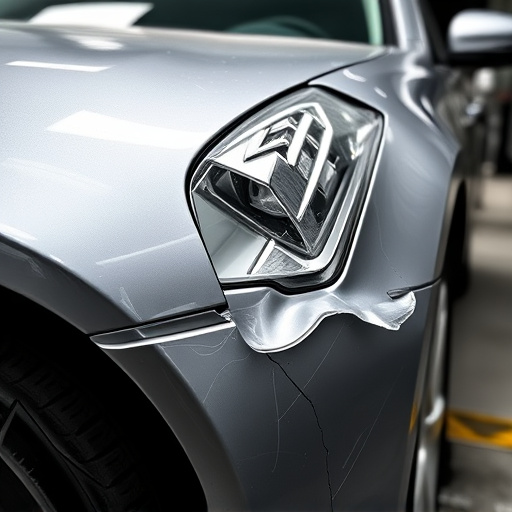
When addressing a Tesla taillight assembly repair due to water or moisture intrusion, the first step is disassembling and cleaning the affected components thoroughly. Begin by disconnecting any electrical connectors and carefully removing the taillight housing. This involves unscrewing or unclipping various parts, depending on your vehicle model. Once disassembled, use a suitable degreaser to clean not just the visible surfaces but also the nooks and crannies where moisture could have accumulated. A thorough cleaning ensures that any lingering water is eliminated, preventing further damage or corrosion.
For optimal results in a Tesla taillight assembly repair, consider using specialized car body restoration tools and techniques. This might include compressed air to blow out any remaining moisture and fine brushes for reaching hard-to-access areas. After cleaning, inspect each component closely for signs of wear, cracks, or discoloration, as these could indicate further damage that needs attention during the repair process.
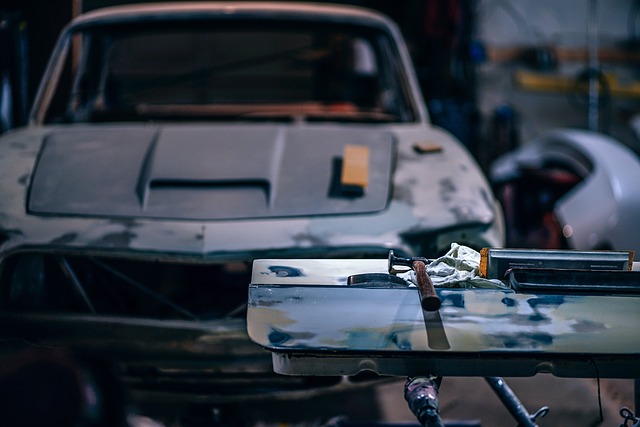
Replacement and Reassembly: A Step-by-Step Guide
When addressing a Tesla taillight assembly repair due to water or moisture intrusion, replacement and reassembly are key steps. Begin by acquiring the necessary parts, ensuring compatibility with your Tesla model. Remove the old taillight assembly carefully, taking note of each connection point for accurate reinstallation. This process involves unscrewing any visible bolts and carefully lifting out the damaged component.
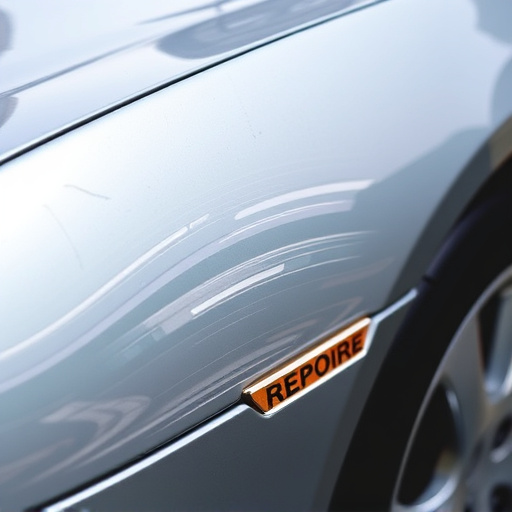
With the old assembly removed, install the new taillight, securing it in place with the original bolts. Ensure all connections are firm and aligned correctly. After double-checking the fitment, reassemble the surrounding parts—like trim pieces or housing—that were temporarily removed. This meticulous process requires precision to maintain your Tesla’s aesthetic integrity. Once complete, test the new taillight for functionality, confirming it operates as expected in various lighting conditions. Remember, proper vehicle repair and attention to detail are paramount for safe driving and optimal performance.
After addressing water or moisture intrusion in your Tesla taillight assembly, it’s crucial to perform a thorough repair to ensure optimal functionality and longevity. By understanding the damage, disassembling the affected components, and following a step-by-step replacement guide, you can effectively restore your taillight assembly. Remember that prompt action is key to preventing further corrosion and ensuring safe driving conditions. With these steps, you’ll be well-equipped to tackle Tesla taillight assembly repair, keeping your vehicle’s lighting system in top shape.