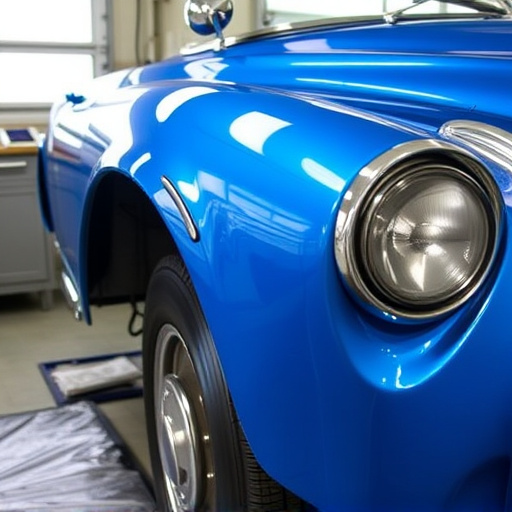


Tesla taillight assembly repair issues arise from weather, debris, and wear. Common problems include housing cracks, loose connections, and light failures. Regular inspections and timely repairs are key for safety and aesthetics. High-quality parts and professional assistance ensure optimal results. Proper disassembly and inspection involve removing covers, bulbs, reflectors, and brackets to assess damage. Step-by-step guidelines offer both individual light repairs and full rear lighting replacements, emphasizing thoroughness and manufacturer instructions for optimal performance.
Experience a broken Tesla taillight assembly? This comprehensive guide provides a detailed step-by-step process to help you with repairs, whether fixing left, right, or full rear lighting. Understanding common issues and learning how to disassemble and inspect your taillights is key. By following these simple instructions, you’ll be equipped to restore your Tesla’s lighting functionality and enhance safety on the road. Master the art of Tesla taillight assembly repair today!
- Understanding Tesla Taillight Assembly Issues
- Disassembling and Inspecting Your Taillights
- Repair Process: Step-by-Step Guide for All Lighting Components
Understanding Tesla Taillight Assembly Issues
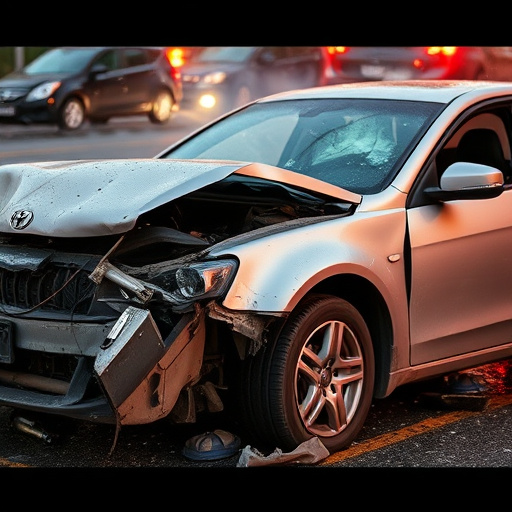
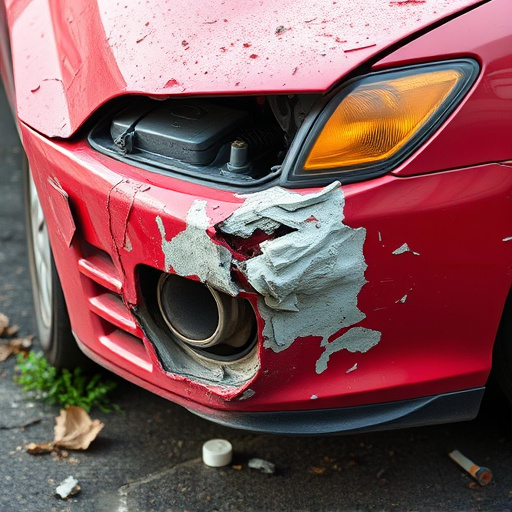
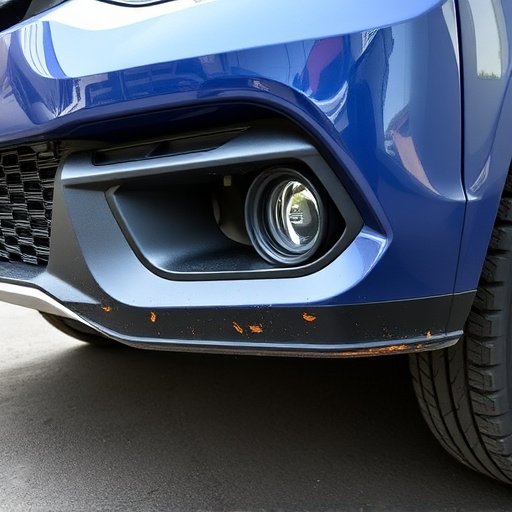
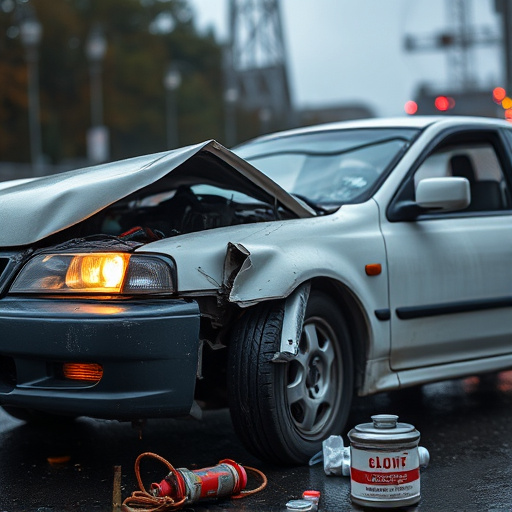
Tesla taillight assembly issues can arise from various factors, often leading to concerns about both safety and aesthetics. Over time, exposure to harsh weather conditions, road debris, and regular wear and tear can take a toll on these components. Cracks in the plastic housing, loose connections, or even complete failures of individual lights are not uncommon problems for Tesla owners to encounter. These issues may manifest as flickering lights, uneven brightness, or, in severe cases, complete outage of rear lighting systems, including left, right, or full rear lighting.
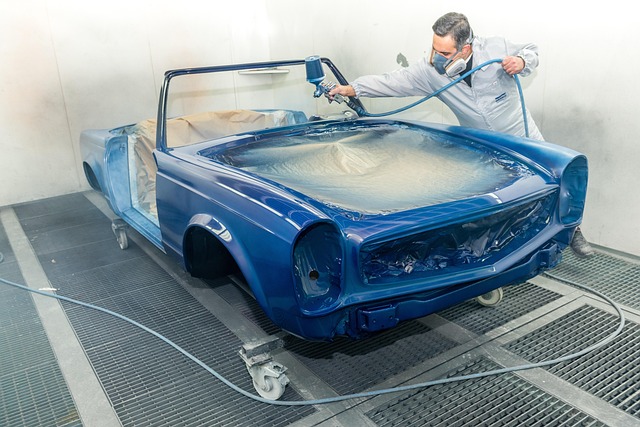
Proper maintenance and timely repairs are essential to mitigate these problems. Regular inspections can help identify potential issues early on, preventing more serious damage. When it comes to Tesla taillight assembly repair, whether for a simple fender repair, replacing individual lights, or addressing complex auto repair services, ensuring the use of high-quality parts is paramount. Moreover, seeking professional assistance from reliable auto repair shops specializing in electric vehicle maintenance can guarantee accurate diagnoses and effective solutions, keeping your Tesla’s lighting system functioning optimally.
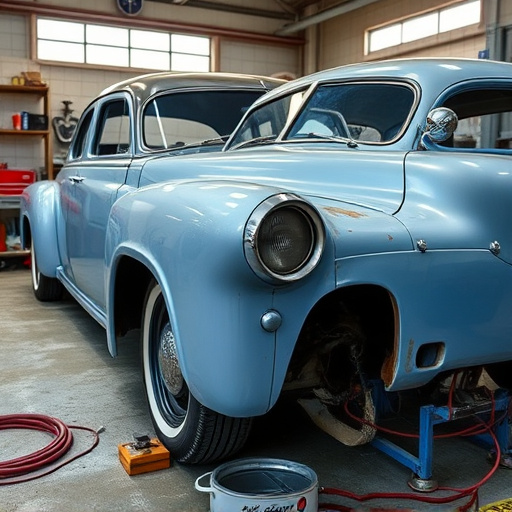
Disassembling and Inspecting Your Taillights

When performing a Tesla taillight assembly repair, whether for left, right, or full rear lighting, disassembling and inspecting your taillights is a crucial step in ensuring proper functionality and safety. Begin by carefully removing the cover and bulbs from each taillight assembly. Next, take apart the various components, such as reflectors, lenses, and mounting brackets, to gain access to all surfaces. This meticulous process allows for a thorough inspection, identifying any cracks, chips, or loose parts that might require replacement during your repair.
Remember, proper disassembly and inspection are key in automotive restoration, just like with an auto glass replacement or auto body shop work. It’s during this stage that you can truly assess the extent of the damage and make informed decisions to get your Tesla taillight assemblies back in top condition.
Repair Process: Step-by-Step Guide for All Lighting Components

Repairing a Tesla taillight assembly can be a straightforward process for those with basic automotive knowledge. For both left and right side repairs, as well as full rear lighting replacements, follow these step-by-step guidelines. Begin by ensuring the vehicle is securely parked on a level surface. Next, locate the specific taillight component in need of repair—whether it’s a single light or an entire assembly. Gather all necessary tools, including socket sets, screwdrivers, and any replacement parts.
Demounting the old part carefully is key; this may involve removing retaining clips, screws, or other fasteners. Once access is gained, inspect the area for any damage caused by a fender bender or collision, ensuring everything is in proper working order before reassembly. After cleaning and preparing the area, install new parts according to the manufacturer’s instructions, securing them with the appropriate hardware. Testing each light function after completion ensures optimal performance and safety on the road.
Whether you’re dealing with a faulty left, right, or full rear lighting system in your Tesla, understanding and mastering the repair process can save you time and money. By following the step-by-step guide provided, you’ll gain the confidence to tackle these repairs yourself, ensuring your vehicle’s lights function optimally. Remember, a well-maintained Tesla taillight assembly not only enhances safety on the road but also contributes to the overall longevity of your vehicle’s lighting components.