


Tesla taillight assembly repairs address issues like fogging, yellowing, cracks, and misalignment due to environmental factors. Techniques include lens polishing and buffing for cosmetic restoration. Polishing gently removes scratches, while buffing smoothes deeper ones but risks lens integrity. Severe damage requires professional auto collision services. Repairs emphasize tool selection, cleaning, and achieving an aesthetically pleasing finish matching Tesla's design.
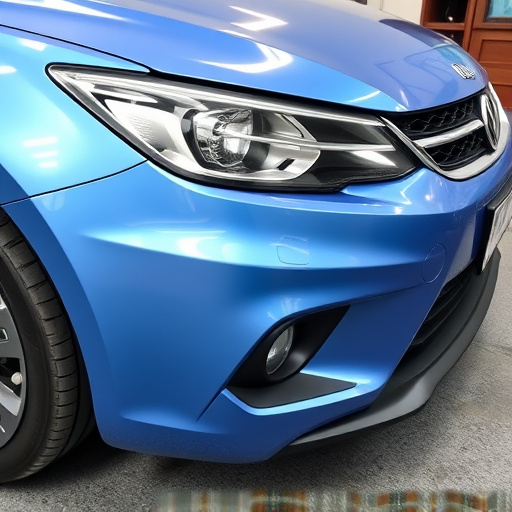
Tesla vehicles are renowned for their innovative technology, but even these advanced cars aren’t immune to wear and tear. One common issue affecting Teslas is a clouded or damaged taillight assembly, which can impact visibility and aesthetics. This article delves into the world of Tesla taillight assembly repair, exploring two effective techniques: lens polishing and buffing. We’ll guide you through the process step-by-step, empowering you to restore your Tesla’s tail lights to their original clarity.
- Understanding Tesla Taillight Assembly Issues
- Lens Polishing vs Buffing Techniques
- Step-by-Step Repair Process and Tips
Understanding Tesla Taillight Assembly Issues
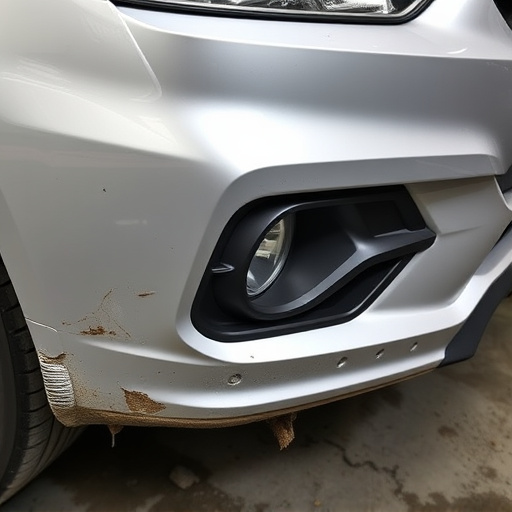
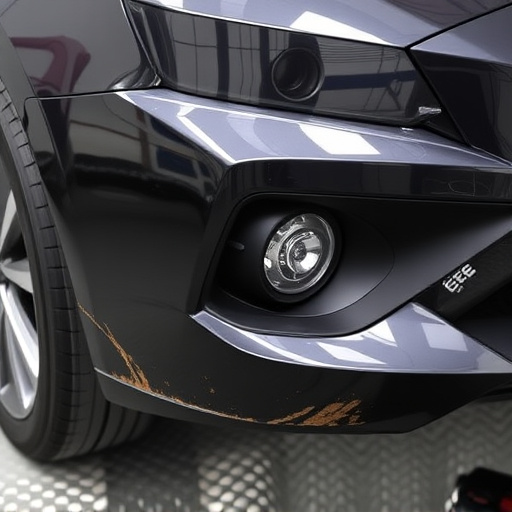
Tesla taillight assemblies can experience a range of issues over time, impacting both their performance and aesthetic appeal. Common problems include fogging, yellowing, cracks, or scratches on the lenses, as well as misalignment or loose components. These issues may arise due to environmental factors like exposure to harsh weather conditions, road debris, or UV radiation from sunlight. Over time, the build-up of grime, bug splatter, and other deposits can cloud the lenses, reducing visibility and compromising safety during nighttime driving.
Proper maintenance and timely repairs are essential for keeping Tesla taillight assemblies in optimal condition. While minor cosmetic issues like scratches may be addressed using paintless dent repair or car scratch repair techniques, more severe structural damage typically requires a complete taillight assembly replacement. Vehicle restoration experts recommend regular inspections to identify potential problems early on, ensuring both the safety and longevity of your vehicle’s lighting system.
Lens Polishing vs Buffing Techniques
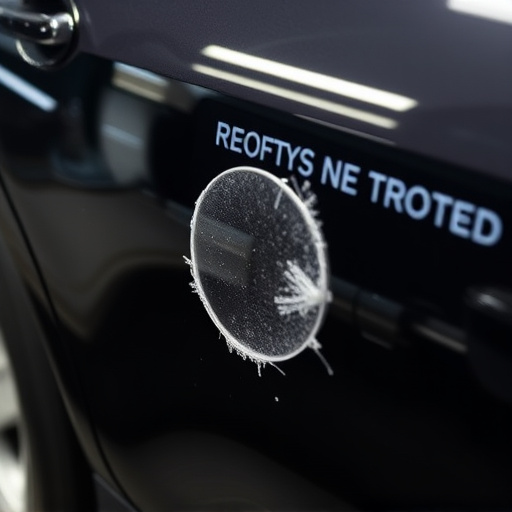
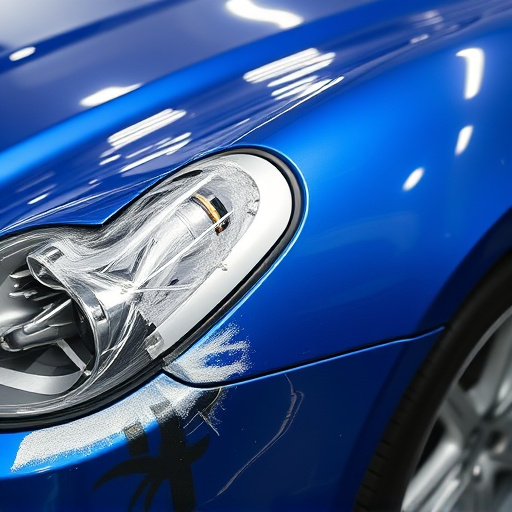
When it comes to repairing a Tesla taillight assembly, two popular techniques are lens polishing and buffing. Both methods aim to restore the clarity and appearance of the lenses, but they differ in their approach. Lens polishing involves using specialized compounds and tools to gently scrape away minor scratches and imperfections on the surface of the lens. This process enhances light transmission, ensuring optimal visibility at night. On the other hand, buffing goes a step further by completely removing the top layer of the lens material, smoothing out deeper scratches, and restoring the original factory finish.
While polishing is ideal for lighter scratches and maintains the integrity of the lens material, buffing offers a more aggressive solution for severe damage. Auto body shops providing fleet repair services often recommend buffing for widespread scratches or chips that could affect light output. Ultimately, the choice between polishing and buffing depends on the extent of the damage and the desired outcome in terms of clarity and aesthetics for Tesla taillight assembly repairs.
Step-by-Step Repair Process and Tips
Step-by-Step Repair Process and Tips for Tesla Taillight Assembly Repair
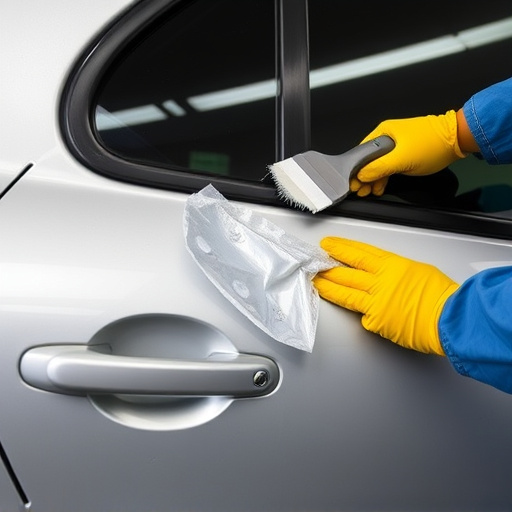
The first step in repairing your Tesla taillight assembly is to assess the damage, which often involves a cracked or scratched lens. Before proceeding, gather all necessary tools, including polishing compound, buffing pads, and a clean cloth. Start by gently cleaning the affected area to remove any debris or contaminants that could impede the repair process. Once clean, apply a small amount of polishing compound to the scratch or crack using a soft-bristled brush or applicator pad. Working in small sections at a time, carefully buff the compound into the damaged area using progressively finer grits of sandpaper or buffing pads.
As you polish, pay close attention to achieving a smooth, even finish that matches the original contour of the lens. After polishing, thoroughly wipe down the entire taillight assembly with a clean, damp cloth to remove any residual compounds or debris. If needed, repeat the polishing process until the scratch or crack is effectively minimized or completely concealed. Remember, patience and careful application are key to achieving a professional-looking repair that complements your Tesla’s overall aesthetic. For severe cases where the lens is deeply cracked or damaged beyond practical repair, consider visiting an auto collision center for expert auto body repair services.
Tesla taillight assembly repair can be a straightforward process using either lens polishing or buffing techniques. By understanding the common issues affecting these assemblies, you can effectively address them. Whether you opt for polishing or buffing, both methods offer durable solutions that enhance the appearance and functionality of your Tesla’s taillights. Following the step-by-step guide provided in this article will help ensure a successful repair, ensuring your vehicle’s lights shine brightly and legally on the road.