


Before repairing a Tesla taillight assembly, prepare by gathering correct tools, replacement parts, and consulting specific model manuals or online resources. Park safely and familiarize yourself with automotive repairs, prioritizing both safety and vehicle integrity. Common problems include broken lenses, faulty bulbs, misaligned components, and damaged wiring; address these promptly for optimal lighting performance and road safety. Carefully disassemble the old taillight, noting connections, and handle repairs with care to maintain your Tesla's aesthetic.
“Uncover the fundamentals of Tesla taillight assembly repair with our comprehensive guide. Before diving in, understand common issues plaguing these assemblies and gather the right tools and replacement parts. This step-by-step tutorial walks you through safety precautions, removal of faulty components, and installation of new or repaired parts. Additionally, learn expert tips for long-term maintenance and future repairs to ensure your Tesla’s lighting system functions optimally.”
- What You Need to Know Before Starting the Repair
- – Identifying common issues with Tesla taillight assemblies
- – Gathering necessary tools and replacement parts
What You Need to Know Before Starting the Repair

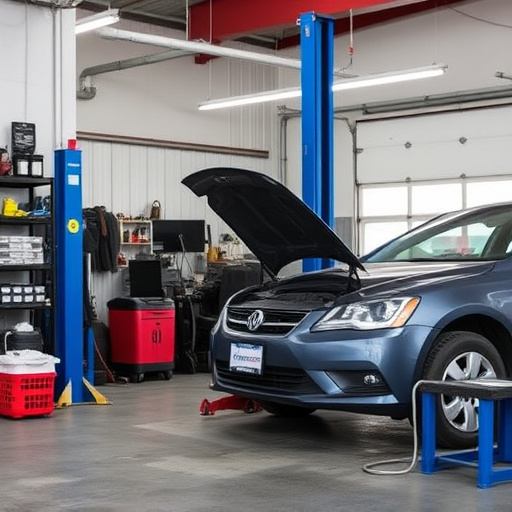
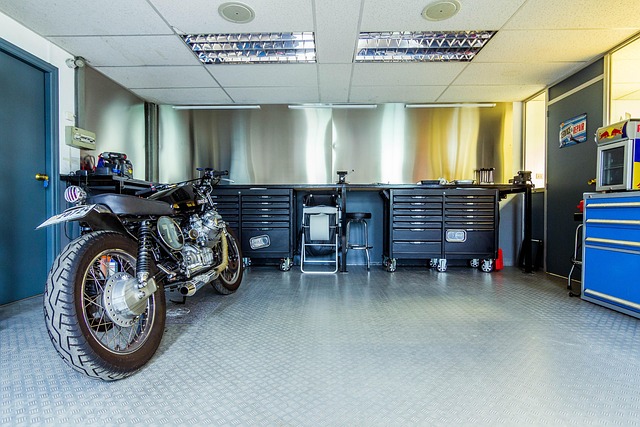
Before tackling a Tesla taillight assembly repair, there are several key factors to consider. First and foremost, ensure you have the necessary tools and replacement parts specific to your Tesla model. Accurate identification of your vehicle’s year and make is crucial, as tailoring the repair to the correct specifications is essential for a seamless fit. Safety is paramount; always park your car in a secure, level area and engage the parking brake before beginning work. Familiarize yourself with basic automotive repair concepts and consider consulting repair manuals or online resources specific to Tesla models for detailed step-by-step guidance.
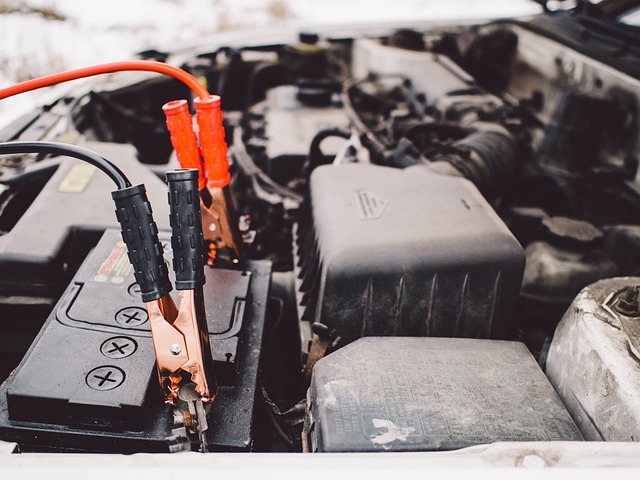
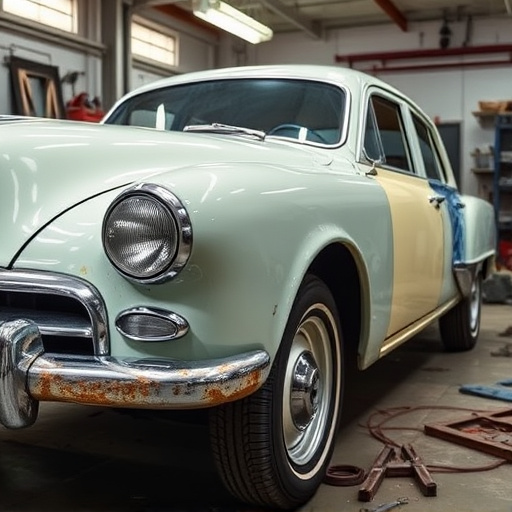
Additionally, while not directly related to the repair itself, having some knowledge of car restoration techniques can be beneficial. Even minor fender repairs might be required if the surrounding area is damaged during disassembly. Moreover, understanding the fundamentals of automotive electrical systems will help you navigate the intricate wiring involved in modern vehicle lighting assemblies. With the right preparation and mindset, tackling a Tesla taillight assembly repair can transform into an empowering DIY project.
– Identifying common issues with Tesla taillight assemblies
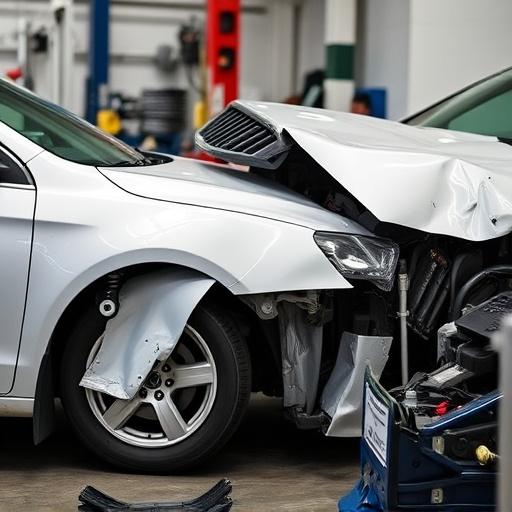
Tesla taillight assemblies can encounter various issues over time, requiring expert attention for Tesla taillight assembly repair. Common problems include broken or cracked lenses, faulty bulbs, and misaligned or loose components within the assembly. Sometimes, the issue might be as simple as a damaged or corroded wiring harness, while other cases may involve more complex bumper repair or even automotive repair of surrounding parts, especially in the event of a collision.
These issues can impact not just the functionality of the taillights but also the overall aesthetic appeal of the vehicle. A close inspection might reveal that the problem lies in the taillight’s housing, which can become loose or develop cracks over time, affecting the entire assembly. Understanding these common issues is key to addressing them promptly and effectively, ensuring your Tesla maintains optimal lighting performance and safety on the road.
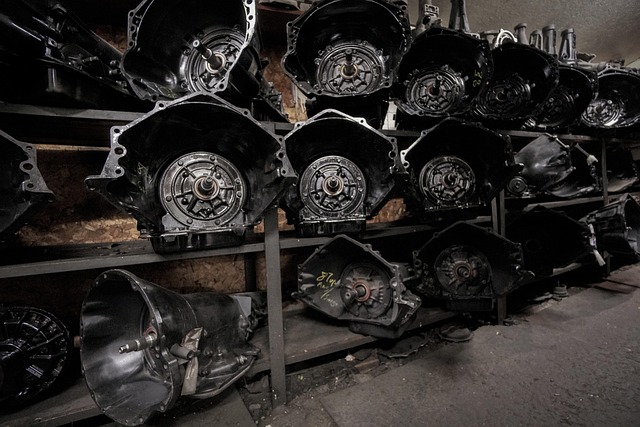
– Gathering necessary tools and replacement parts
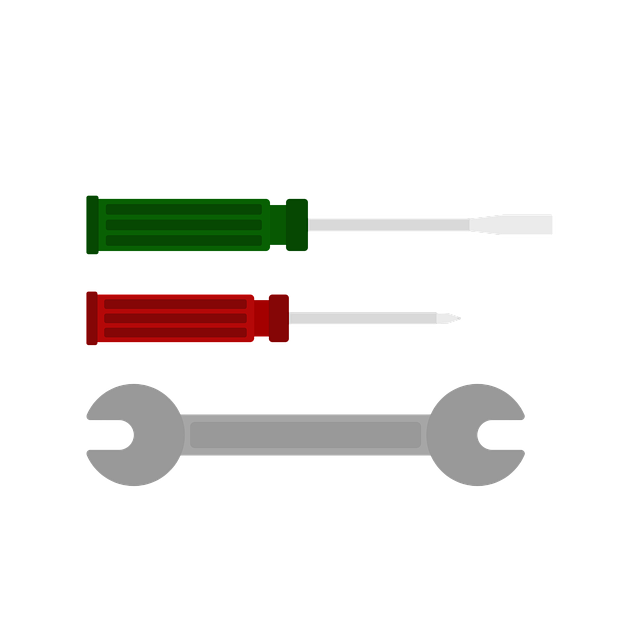
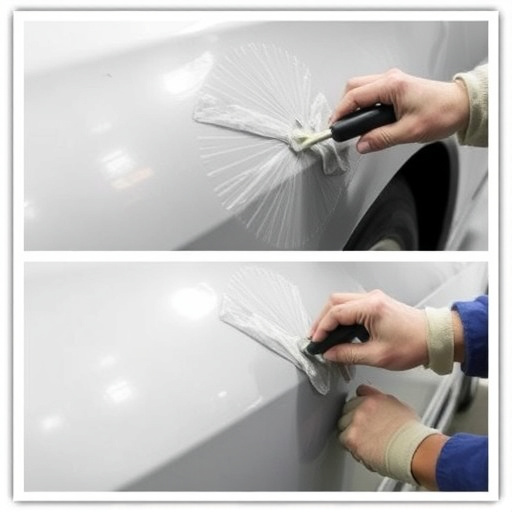
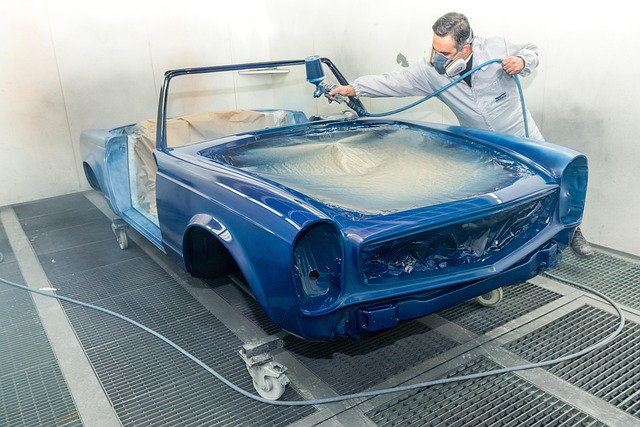
Before tackling any Tesla taillight assembly repair, it’s crucial to gather the right tools and replacement parts. This includes basic automotive tools like socket sets, wrenches, screwdrivers, and pliers, as well as specific items tailored for your car’s make and model, such as a new taillight assembly or lens. For precise results in car body repair, consider using a paint gun and matching car paint to restore the aesthetic appeal of your vehicle during the repair process. Ensuring you have all necessary components sets the stage for successful Tesla taillight assembly repair, aligning with best practices in car restoration.
Once prepared, you can begin disassembling the old taillight carefully, taking note of how each component is connected. This step-by-step approach, similar to navigating a complex but rewarding symphony, allows for clean removal without damaging other parts. Remember that proper handling and careful placement are key during car paint repair, especially when replacing individual components like taillights, to maintain the overall integrity and finish of your vehicle’s exterior.
Understanding the basics of Tesla taillight assembly repair is a valuable skill for any car enthusiast. By identifying common issues, gathering the right tools and replacement parts, you can efficiently address and prevent future problems with your Tesla’s taillights. Armed with this knowledge, you’ll be well-equipped to maintain and enhance the safety and aesthetic appeal of your vehicle. For seamless repairs, ensure you have all the necessary components, including high-quality replacements, to restore your Tesla’s taillight assemblies to optimal condition.