
For safe and effective Tesla taillight assembly repair, strictly adhere to OEM specifications. Aftermarket parts may not meet these standards. Consult experienced mechanics or reputable auto shops using genuine OEM-compliant components. Common issues include cracked lenses, faulty wiring, and misalignment. Precision is key in repairing or replacing the assembly, following specific procedures for each Tesla model.
“Ensure your Tesla’s safety and maintain its sleek design with a thorough understanding of OEM (Original Equipment Manufacturer) specifications for taillight assembly repair. This comprehensive guide delves into the intricate requirements, helping you diagnose common issues plaguing these vital components. From identifying faulty parts to a step-by-step replacement process, we empower owners to tackle repairs effectively, preserving their vehicle’s standard and functionality.”
- Understanding Tesla Taillight Assembly Requirements
- Diagnosing Common Issues in Taillight Assemblies
- Step-by-Step Guide to Effective Repair and Replacement
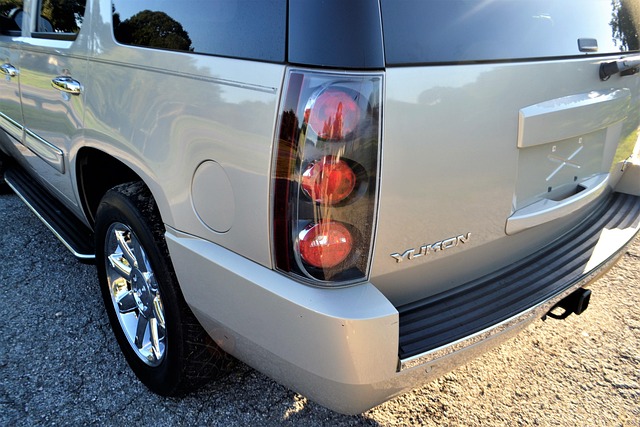
Understanding Tesla Taillight Assembly Requirements
When it comes to repairing a Tesla taillight assembly, understanding the original equipment manufacturer (OEM) specifications is paramount. This ensures that the replacement parts perfectly mirror the design and functionality of the original equipment. Every detail, from dimensions to material composition, must be exact to maintain safety standards and vehicle performance.
For auto body shops or DIY enthusiasts undertaking this repair, sourcing genuine Tesla taillight assembly components is crucial. While some may opt for aftermarket parts, they might not always meet the stringent requirements of a Tesla vehicle. Therefore, consulting with experienced mechanics or visiting a reputable auto repair near me can help ensure that only OEM-compliant parts are used, guaranteeing optimal performance and safety during driving.
Diagnosing Common Issues in Taillight Assemblies

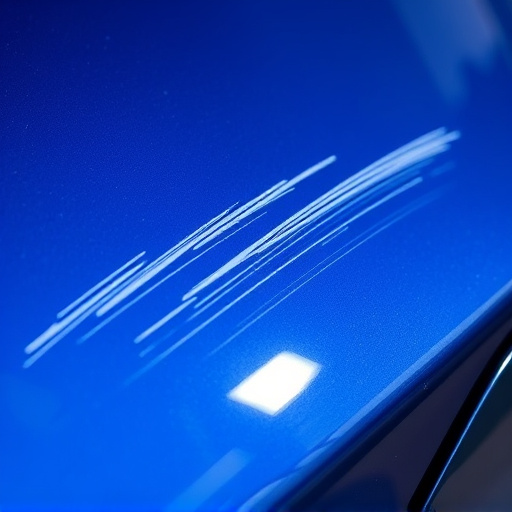
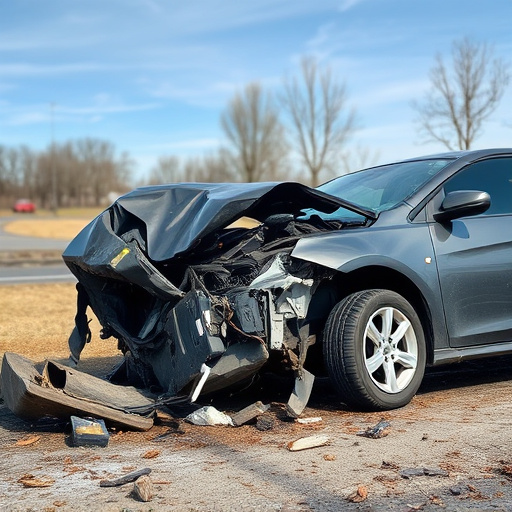
Diagnosing common issues in Tesla taillight assemblies is a critical step before attempting any repairs. One of the most frequent problems involves cracks or damage to the plastic lenses, often caused by vehicle collisions or environmental factors like extreme weather. These damages can affect not only the aesthetic appeal but also the functionality of the taillights.
Additionally, faulty wiring or bulb replacements can lead to dim or flickering lights, indicating a need for meticulous inspection. In some cases, misalignment issues might occur after a collision or during normal wear and tear, requiring precise adjustments. For classic car restoration enthusiasts, ensuring that every component matches OEM (Original Equipment Manufacturer) specifications is paramount to maintaining authenticity and safety in their Tesla taillight assembly repairs.
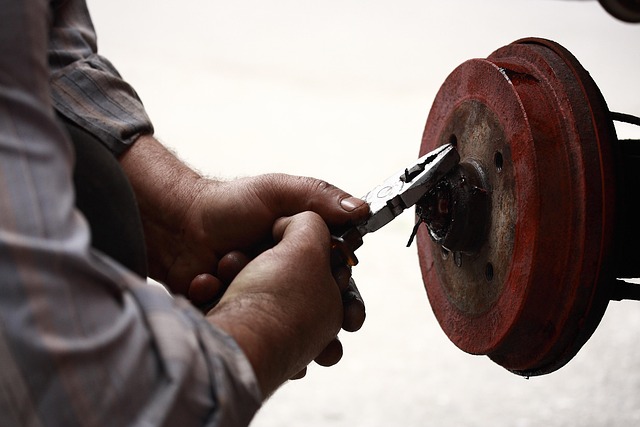
Step-by-Step Guide to Effective Repair and Replacement
Repairing or replacing a Tesla taillight assembly requires precision and adherence to OEM (Original Equipment Manufacturer) specifications for optimal performance and safety. Here’s a step-by-step guide to ensure an effective fix. First, gather all necessary tools and parts, including a new taillight assembly that precisely matches your Tesla model’s specifications. Next, carefully remove the damaged or faulty taillight by detaching any wiring connectors and securing mechanisms. This involves unscrewing bolts, releasing clips, or following the vehicle’s specific disassembly procedures outlined in the service manual.
Once the old taillight is removed, thoroughly inspect the housing for cracks, dents, or other damage that may have contributed to the original failure. Clean the area with automotive-grade degreaser and ensure there are no loose debris or contaminants remaining. After preparing the mounting surfaces, install the new taillight assembly by securing it in place using the original bolts and connectors. Double-check all connections for proper fitment and functionality, making sure the taillight operates smoothly and emits the correct light pattern as per OEM standards. This meticulous process bridges the gap between automotive collision repair and car body restoration, ensuring your Tesla’s taillight assembly meets the highest standards of quality and safety.
When it comes to Tesla taillight assembly repair, adhering to OEM (Original Equipment Manufacturer) specifications is paramount. By following a meticulous process that involves diagnosing common issues, you can ensure your vehicle’s lights function optimally and safely. Armed with the right knowledge from this guide, you’re equipped to perform effective repairs or replacements, enhancing both the performance and longevity of your Tesla’s taillight assemblies. Remember, maintaining these critical components is key to driving with confidence and adhering to legal lighting standards.