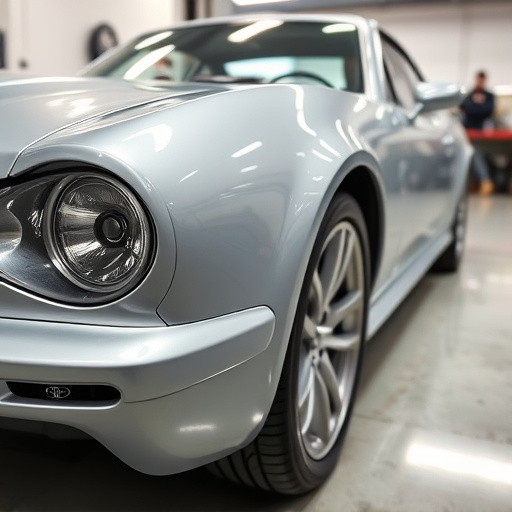


Tesla taillight assemblies face issues like loose electrical connections, physical damage, and weather-related sealant failure, impacting safety. For Model S, 3, X, or Y repairs, skilled mechanics at specialized collision centers diagnostically dismantle, repair, and reinstall the intricate system, ensuring reliable functionality and vehicle safety.
Struggling with a faulty Tesla taillight assembly? You’re not alone. Common issues can leave your Model S, 3, X, or Y’s rear lighting inconsistent and unsafe. This guide tackles the problem head-on, offering insights into identifying and rectifying tail light system malfunctions. We break down the process step-by-step, empowering you with the knowledge to efficiently replace your taillight assembly, ensuring a safe and reliable drive for your Tesla.
- Understanding Common Taillight Assembly Issues in Tesla Models
- Dismantling and Diagnosing Your Vehicle's Tail Light System
- Step-by-Step Repair Guide for Efficient Replacement
Understanding Common Taillight Assembly Issues in Tesla Models
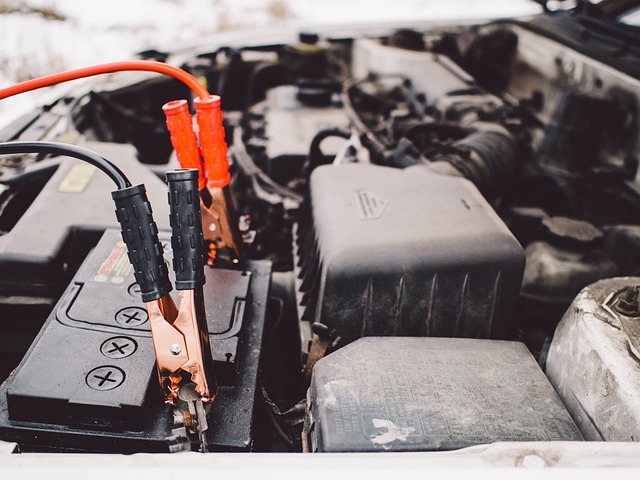
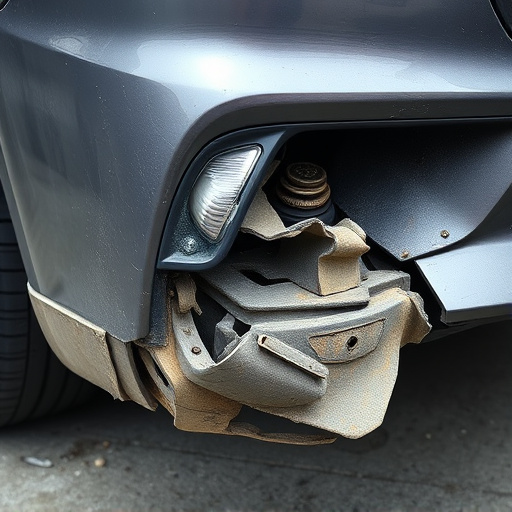
Tesla vehicles, known for their cutting-edge technology and sleek design, can sometimes experience issues with their taillight assembly over time. Understanding these common problems is essential when considering Tesla taillight assembly repair. One of the primary concerns is loose or damaged connections within the complex electrical system that controls the tail lights. This may result in flickering or inoperable tail lamps, a significant safety hazard on the road. Another frequent issue is physical damage due to accidents or road debris, leading to cracked or broken taillight lenses and housings.
Additionally, wear and tear from prolonged exposure to harsh weather conditions can contribute to sealant failure around the assembly, causing water infiltration and potential electrical malfunction. For Tesla owners, visiting a reputable collision repair center specializing in electric vehicle repairs is advisable when addressing these issues. A skilled mechanic at a collision repair shop with expertise in Mercedes Benz collision repair (as an example of a high-quality service provider) can offer precise diagnostics and efficient repairs for taillight assembly problems, ensuring the safety and reliability of your Tesla on the road.
Dismantling and Diagnosing Your Vehicle's Tail Light System

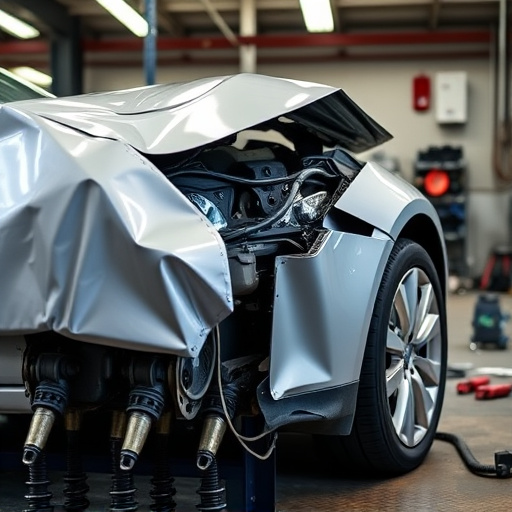
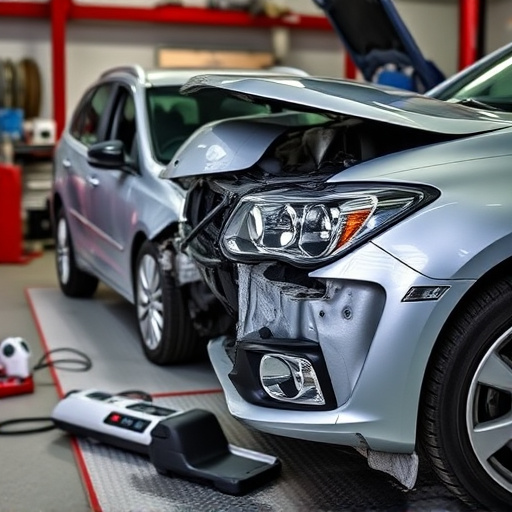
When undertaking a Tesla taillight assembly repair for your Model S, 3, X, or Y vehicle, the first step is to dismantle and diagnose the existing tail light system. This process involves carefully removing the outer casing to access the internal components, which may include LED bulbs, reflectors, and lens materials. During disassembly, inspect each part for signs of damage, corrosion, or wear and tear—common issues that often necessitate a repair.
Diagnosing the problem accurately is crucial to ensuring an effective Tesla taillight assembly repair. Check for power connections, wire harnesses, and any sensor integrations that may have become compromised over time. Merely comparing it with a well-maintained car body restoration or even a simple car dent repair won’t cut it; tail light systems require specialized knowledge to navigate their intricate electrical and mechanical components.
Step-by-Step Repair Guide for Efficient Replacement

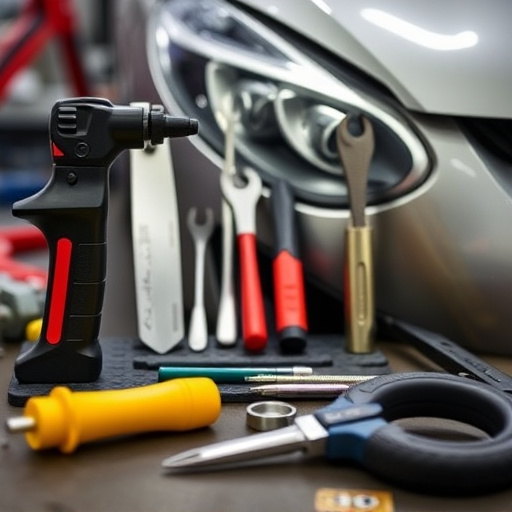
Performing a Tesla taillight assembly repair on your Model S, 3, X, or Y can be accomplished efficiently with a step-by-step guide tailored to these models. Start by ensuring your vehicle is safely secured and powered off for safety precautions. Next, locate the damaged taillight assembly, usually found at the rear of the car. Gather the necessary tools, including a new taillight assembly compatible with your Tesla model.
Demount the old taillight by carefully detaching any wiring connectors and removing retaining clips or bolts securing it in place. Take note of how the components are connected for easier reassembly. Once the old taillight is removed, inspect the car body panel for any signs of damage or misalignment that might require frame straightening. With the new taillight assembly ready, reinstall it by following the reverse steps, ensuring all connections are secure. Finish by testing the new taillight to confirm proper functionality and enjoy a seamless repair job accomplished with ease.
Repairing your Tesla’s taillight assembly is a manageable task with the right knowledge. By understanding common issues and following a structured repair guide, owners of Model S, 3, X, and Y vehicles can efficiently address and replace faulty taillights. This DIY approach not only saves costs but also ensures your Tesla maintains its sleek design and safety features. Remember, a well-maintained tail light system is crucial for optimal visibility and vehicle security. So, take control and dive into the process of repairing your Tesla’s taillight assembly today!