
Rear-end collisions can cause significant damage to Tesla taillight assemblies, requiring specialized knowledge and tools for accurate repairs. For safety and aesthetic restoration, consult a car body shop specializing in Tesla taillight assembly repair. This meticulous process involves careful disassembly, inspection for hidden damage, replacement with new parts, and thorough testing of all lighting functions.
After a rear-end collision, your Tesla’s taillight assembly may suffer damage, affecting both aesthetics and functionality. This guide delves into the process of repairing the Tesla taillight assembly, providing a comprehensive understanding of common issues and step-by-step instructions for a successful fix. By following these detailed steps, you’ll be able to replace and reinstall the components, restoring your Tesla’s taillight functionality and ensuring safe driving.
- Understanding Tesla Taillight Assembly Damage After Collisions
- Disassembling and Inspecting the Damaged Taillight Components
- Replacing and Reinstating Functionality: Step-by-Step Guide
Understanding Tesla Taillight Assembly Damage After Collisions
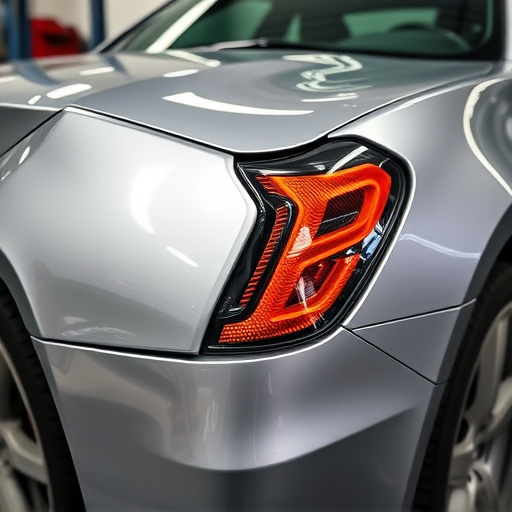
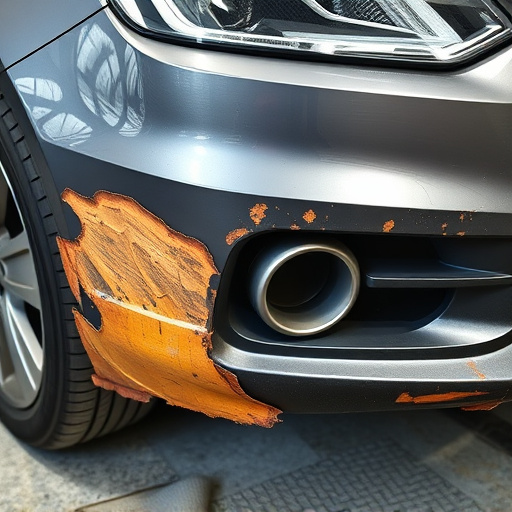
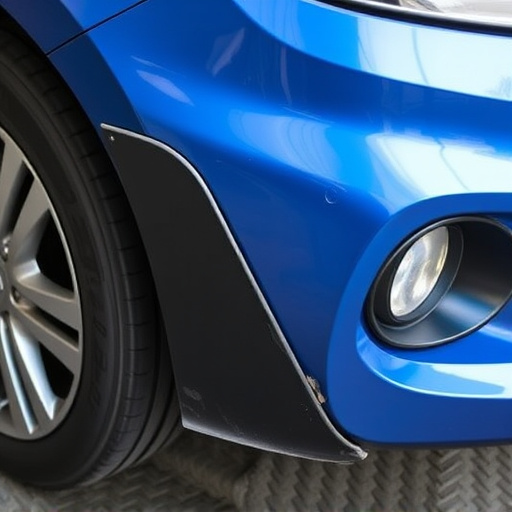
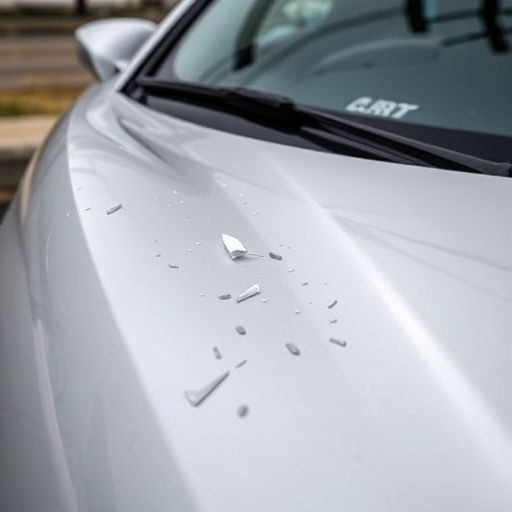
After a rear-end collision, the Tesla taillight assembly can sustain significant damage. Impact from behind can cause various issues, from cracked or broken lenses to misaligned or completely detached components. Even minor collisions can lead to visible imperfections and improper lighting functionality.
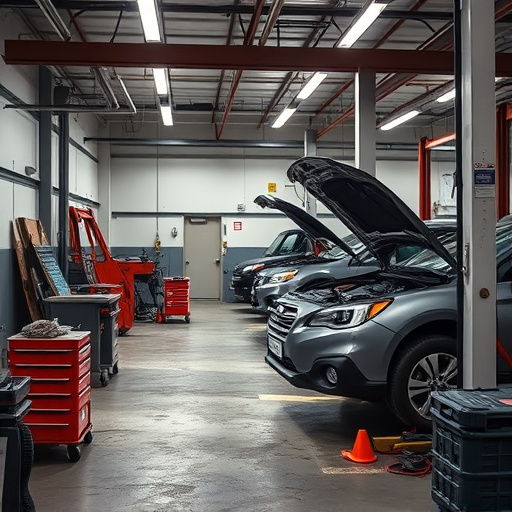
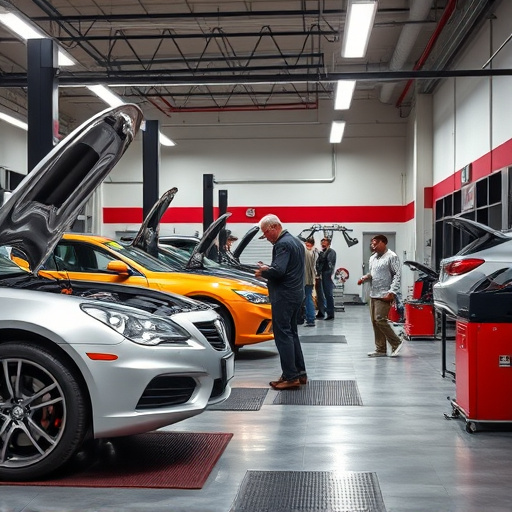
The complexity of modern vehicle designs, including electric vehicles like Tesla, means that these assemblies are often intricate and delicate. Autobody repairs for such damages require specialized knowledge and tools. A car body shop with experience in Tesla taillight assembly repair is best equipped to assess the extent of the damage and provide accurate solutions, ensuring both safety and aesthetic restoration.
Disassembling and Inspecting the Damaged Taillight Components
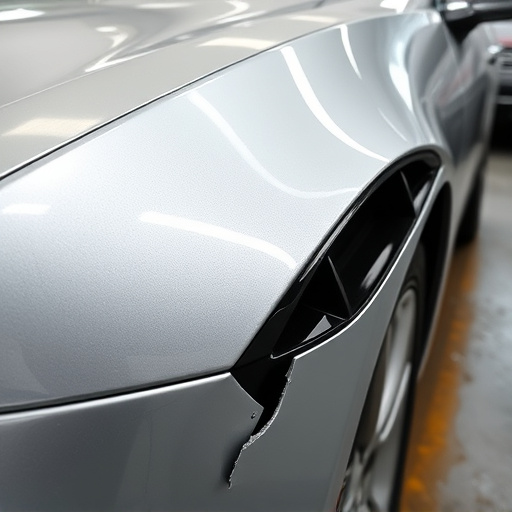
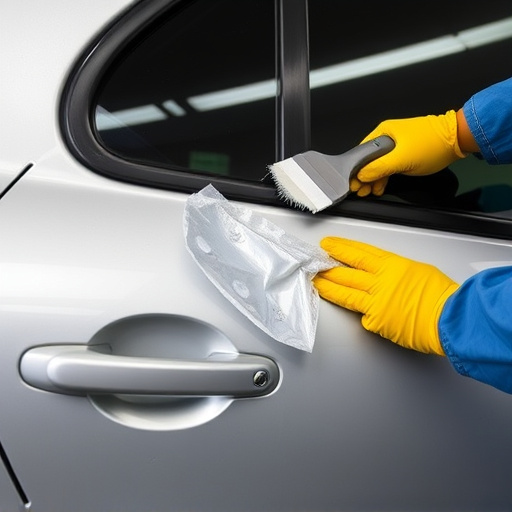
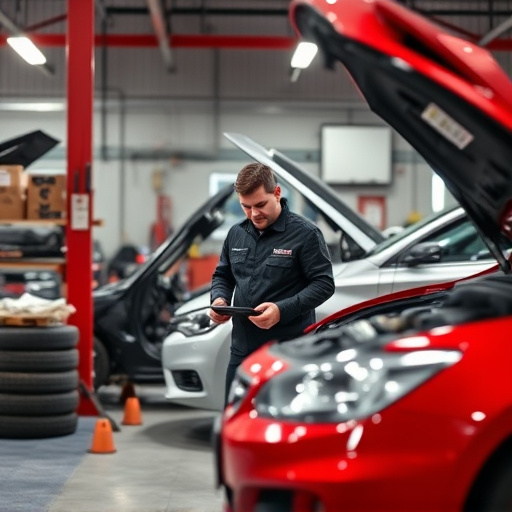
After a rear-end collision, disassembling and inspecting the Tesla taillight components is crucial for an accurate Tesla taillight assembly repair. Begin by carefully removing the damaged tail light from its housing. This process may involve unscrewing or unclipping various parts depending on your vehicle model. Once removed, thoroughly inspect each component for any signs of damage, cracks, or breakage. Look closely at the lens, housing, and any electrical connectors to assess their condition.
In some cases, the impact might have caused hidden damage that can only be revealed after disassembly. For instance, a bent bracket or a loose connection could affect the light’s alignment and functionality. If you’re unsure about any aspect of the inspection, consult with an experienced auto collision center professional who can provide guidance on the extent of automotive repair services needed for your Tesla taillight assembly.
Replacing and Reinstating Functionality: Step-by-Step Guide
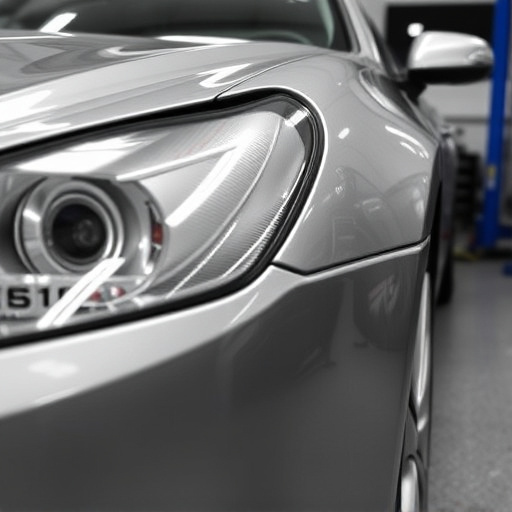
After a rear-end collision, repairing your Tesla’s taillight assembly is crucial for both safety and aesthetics. The process involves replacing the damaged components and reinstating their functionality. Start by removing the old parts—this often includes the taillight housing, lens, and internal components. Ensure you have all necessary replacement parts, such as a new taillight assembly, available to proceed.
Next, locate and disconnect any electrical connectors from the taillight before carefully unscrewing and lifting out the damaged assembly. Install the new taillight, securing it with screws or bolts provided in your kit. Reconnect the electrical connectors, ensuring proper alignment of pins and sockets. Test the newly installed taillight to confirm its functionality, including braking light, turn signals, and reverse lights. This step-by-step guide ensures that your Tesla’s taillight assembly is repaired correctly, enhancing safety on the road and restoring your vehicle’s original appearance, akin to a Mercedes Benz collision repair done with precision.
In light of the above, repairing a Tesla taillight assembly after a rear-end collision is a feasible do-it-yourself project. By understanding the potential damage, disassembling the components, and following a step-by-step guide, you can effectively replace and reinstall functionality. Remember that proper inspection and accurate replacement parts are crucial for ensuring your vehicle’s safety and lighting performance. With these steps, you’re well-equipped to tackle Tesla taillight assembly repair, enhancing your vehicle’s post-collision restoration.