


Tesla taillight assembly repairs are crucial for safety and aesthetics after damage to trunks or bumpers. Evaluate loose connections, damaged wiring, or broken components. Specialized auto body services use professional tools and parts to fix structural issues. DIY repair involves assessing, removing, cleaning, replacing components, aligning new lights, reinstalling wiring, and testing functionality for a precise fit.
After suffering trunk or bumper damage, your Tesla’s taillight assembly might also be compromised. This comprehensive guide walks you through repairing your Tesla taillight assembly, addressing common failures resulting from impact events. Equipped with the right tools and replacement parts, restore your vehicle’s safety and aesthetic appeal. We provide a step-by-step process for an effective and efficient Tesla taillight assembly repair.
- Understanding Tesla Taillight Assembly Failure After Damage
- Gather Tools and Replacement Parts for Repair
- Step-by-Step Guide to Effective Taillight Assembly Restoration
Understanding Tesla Taillight Assembly Failure After Damage
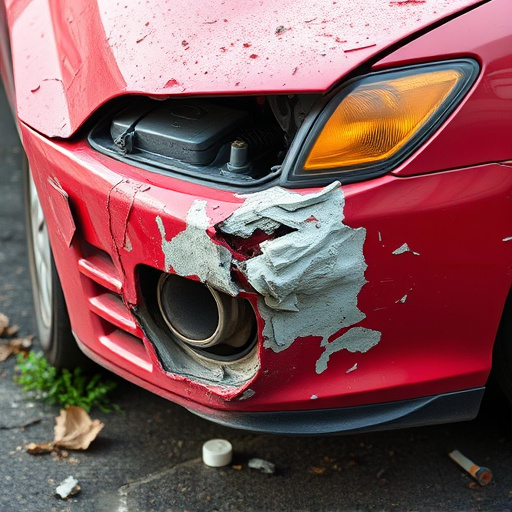
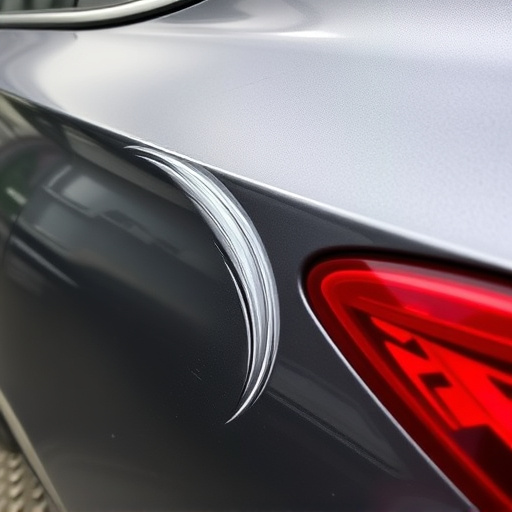
When a Tesla vehicle experiences damage to its trunk or bumper, one of the primary concerns is the potential impact on the taillight assembly. These sophisticated lighting systems are integral to the safety and visibility of the car, especially at night or in low-visibility conditions. Understanding how these assemblies can fail after such damage is crucial for effective repairs.
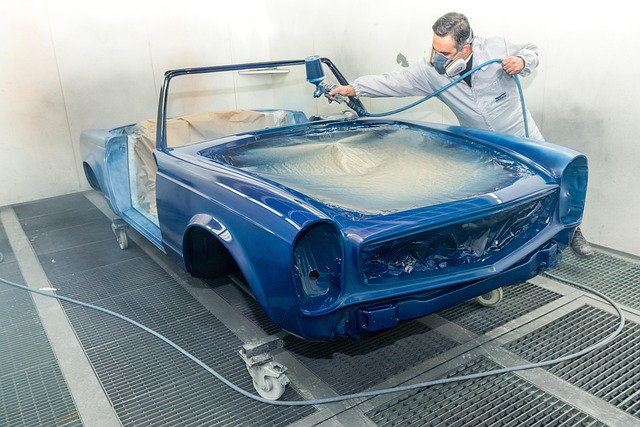
Tesla taillight assembly failure often manifests as loose connections, damaged wiring, or even broken components due to the impact. Proper evaluation and diagnosis are essential steps before initiating any repair. Auto body services that specialize in Tesla repairs have the expertise to assess the extent of the damage, which may include inspections for cracks, chips, or misalignments that could affect both the aesthetic appeal and functional integrity of the lights. Concurrently, addressing any required car paint repair ensures a seamless restoration of the vehicle’s exterior.
Gather Tools and Replacement Parts for Repair
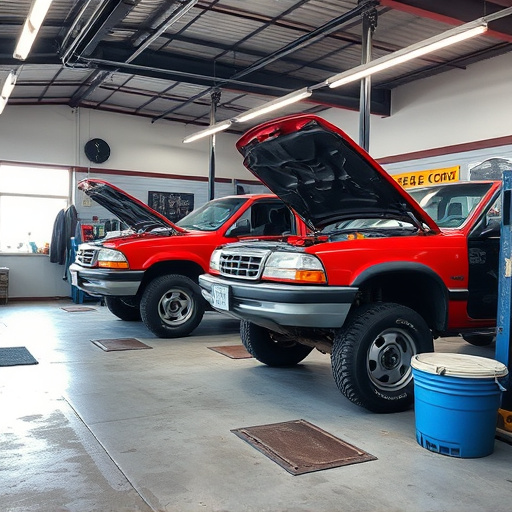
Before tackling any Tesla taillight assembly repair, it’s crucial to gather the right tools and replacement parts. This includes a variety of hardware specific to your vehicle model, such as screws, washers, and rubber grommets, which can often be sourced from your local auto parts store or directly from Tesla. For more complex repairs, especially after hail damage repair or vehicle restoration, specialized tools may be required to ensure accurate alignment and fitting.
When conducting a vehicle repair services, it’s essential to have a clear understanding of the process and any necessary steps for replacement. This might involve disassembling the tail light housing, inspecting the damaged components, and ordering specific parts if needed. Professional-grade tools and replacement parts will not only facilitate a more precise Tesla taillight assembly repair but also ensure your vehicle’s safety and aesthetic appeal is maintained after the fix.
Step-by-Step Guide to Effective Taillight Assembly Restoration
To effectively restore your Tesla taillight assembly after damage to the trunk or bumper, follow this step-by-step guide. Begin by assessing the extent of the damage and gathering necessary tools and materials, including high-quality replacement parts. Next, carefully remove the affected taillight by detaching any connected wires and screws, ensuring you mark their original positions for easy reinstallation.
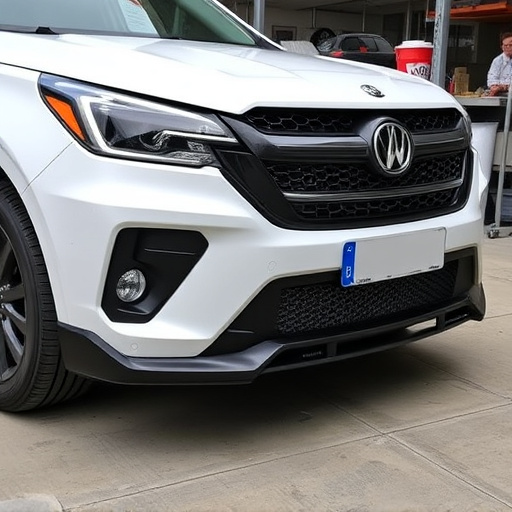
With the old taillight assembly removed, clean the area to eliminate dirt or debris. Repair or replace any damaged components of the housing, using automotive-grade adhesives and sealants suitable for outdoor exposure. Once dry, align and secure the new taillight in place, reinstating all wiring and screws according to their original positions. Final touches involve testing the lights for functionality and ensuring a seamless fit with your car’s exterior, akin to services provided by a top car body shop.
In light of the above, repairing a damaged Tesla taillight assembly is a feasible DIY project that can restore your vehicle’s safety and aesthetic appeal. By understanding the common failure modes, gathering the right tools and replacement parts, and following a step-by-step guide, you can effectively tailor this process to fit your specific needs. Remember that maintaining your Tesla’s lighting system is crucial for both visibility and style, so don’t hesitate to take a dive into this repair with confidence. For optimal results, consider consulting professional resources or seeking assistance from experienced mechanics when needed.