


LED taillights in Tesla vehicles are susceptible to malfunctions due to their intricate design, with extreme temperatures, road debris, and collisions posing risks. Proper repair involves meticulous disassembly, inspecting for damage or corrosion, and replacing faulty parts like LEDs or circuit boards. Regular maintenance, including cleaning and secure connections, is crucial to prevent costly repairs. For DIY repairs, ensure compatible bulbs, safe parking, removal of the faulty bulb, installation of new ones, and double-checking connections. Professional paint job checks are recommended for seamless aesthetics.
Experience flickering or malfunctioning Tesla LED taillights? You’re not alone. These high-tech lights are prone to issues. This guide walks you through a simple, DIY approach to fixing your Tesla taillight assembly. Learn how to disassemble, diagnose, and replace the faulty LED for a safe and reliable lighting solution. Discover expert tips and tricks for a successful Tesla taillight repair, enhancing both your vehicle’s safety and aesthetics.
- Understanding LED Taillight Malfunctions
- Disassembling and Diagnosing the Tesla Taillight Assembly
- Step-by-Step Repair Guide for LED Replacement
Understanding LED Taillight Malfunctions

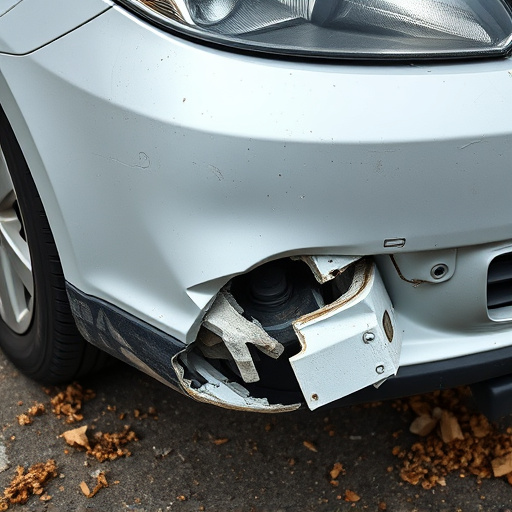
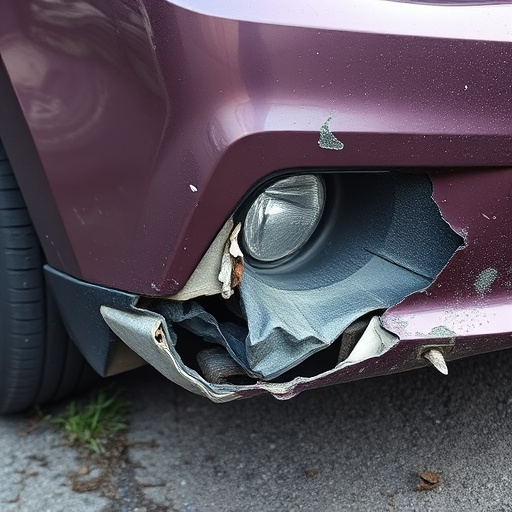
LED taillights, though known for their longevity and energy efficiency, can sometimes exhibit malfunctions like flickering or complete failure. This issue could stem from various factors unique to Tesla taillight assembly repair. Unlike traditional lights, LED fixtures are more delicate, with a complex circuit board integrated into the housing. Over time, exposure to extreme temperatures, road debris, or even a car collision repair can damage these components, leading to malfunction. Moreover, issues with power supply or connections within the taillight assembly can cause flickering or intermittent lighting.
Proper Tesla taillight assembly repair requires a thorough understanding of these intricate systems and their potential vulnerabilities. It’s important to address LED malfunctions promptly to maintain safety on the road. Regular maintenance, including cleaning debris from the lights and ensuring secure connections, can prevent minor issues from escalating into more costly car collision repairs or requiring extensive tire services.
Disassembling and Diagnosing the Tesla Taillight Assembly
Disassembling and diagnosing a Tesla taillight assembly for repair is a meticulous process that requires careful consideration. Begin by ensuring proper safety precautions are in place to avoid any potential hazards during the disassembly. The first step involves carefully removing the cover and shield of the taillight, exposing the LED components within. It’s crucial to inspect these LEDs for any signs of damage, corrosion, or loose connections—common culprits behind flickering or malfunctioning issues.
Using specialized tools, carefully separate and examine each component, taking note of their orientation and function. This meticulous diagnosis is key to identifying the root cause of the problem, whether it’s a faulty LED, damaged circuitry, or a loose connection that needs tightening. Once diagnosed, the disassembled parts can be replaced or repaired, ensuring the taillight assembly functions optimally and adheres to Tesla’s safety standards—an essential aspect of any automotive collision repair or auto maintenance routine provided by professional body shop services.
Step-by-Step Repair Guide for LED Replacement
Replacing a malfunctioning or flickering LED in your Tesla taillight assembly is a straightforward process that can be accomplished with the right tools and a few simple steps. First, gather all necessary tools including a Phillips-head screwdriver, new LED bulbs compatible with your Tesla model, and any required adapters. Park your vehicle on a level surface and engage the parking brake for safety. Next, locate the taillight assembly by opening the trunk and identifying the bulb housing within the tail light.
Using the screwdriver, carefully remove the existing bulb by unscrewing it counter-clockwise. Be mindful of any wires or connectors attached to the bulb. Once the old LED is removed, install the new one by screwing it into place in a clockwise direction until securely fastened. Double-check that all connections are secure before closing the assembly and moving on to the next step. For optimal results, consider having your vehicle’s paint job checked by auto body services professionals to ensure the repair seamlessly blends with your Tesla’s overall aesthetic, preventing any unsightly differences from previous collision repair incidents or outdated parts.
If your Tesla’s LED taillights are malfunctioning or flickering, a thorough understanding of the Tesla taillight assembly and a step-by-step repair guide can help you resolve the issue efficiently. By disassembling the assembly, diagnosing the problem, and replacing the faulty LEDs, you can restore your vehicle’s lighting system to optimal performance. Remember, a well-maintained Tesla taillight assembly ensures better visibility and safety on the road.