

A rear-end collision can cause significant damage to a Tesla's taillight assembly, from minor dents to severe structural deformities. Proper assessment is key to determining if repairs or a complete replacement is needed. Repairing the taillight involves careful steps including jacking up the vehicle, removing damaged parts, replacing the light with specialized tools, cleaning the area, testing functions, and securing the car for safe driving. Best practices include thorough reassembly, regular maintenance, and periodic inspections at a reputable collision repair center to ensure optimal performance and longevity of your Tesla's taillight assembly.
After a rear-end collision, your Tesla’s taillight assembly may suffer damage, affecting safety and aesthetics. This guide delves into the process of repairing your Tesla’s taillight assembly, from understanding common types of damage to implementing best practices for long-lasting repairs. By following these steps, you’ll ensure your Tesla maintains its vibrant, bustling appearance and functionality on the road. Learn how to effectively navigate this repair, making it a game changer in maintaining your electric vehicle.
- Understanding Tesla Taillight Assembly Damage After a Rear-End Collision
- The Step-by-Step Process for Repairing Your Tesla's Taillight Assembly
- Tips and Best Practices for Ensuring Longevity After the Repair
Understanding Tesla Taillight Assembly Damage After a Rear-End Collision
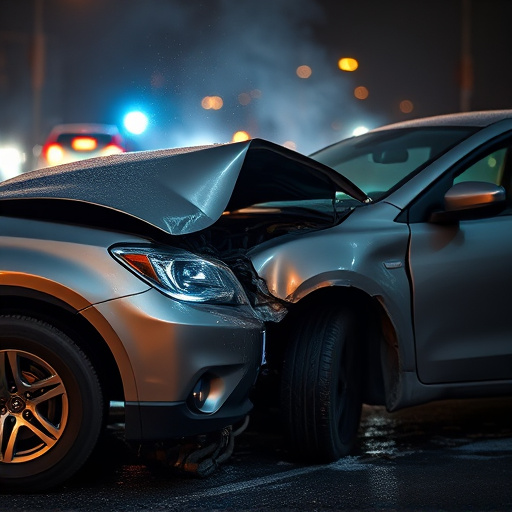
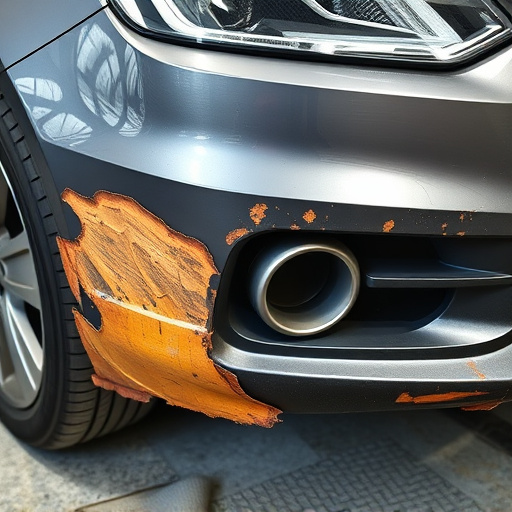
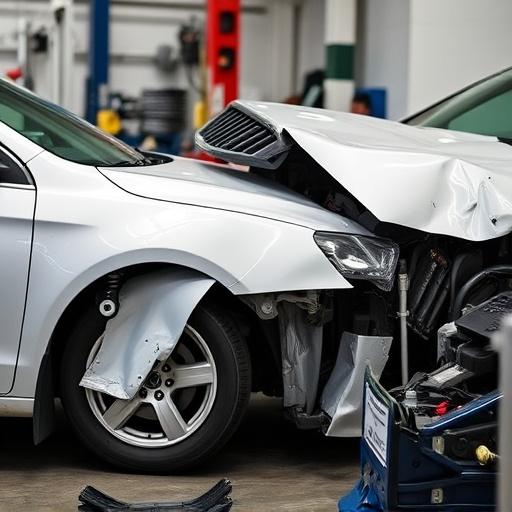
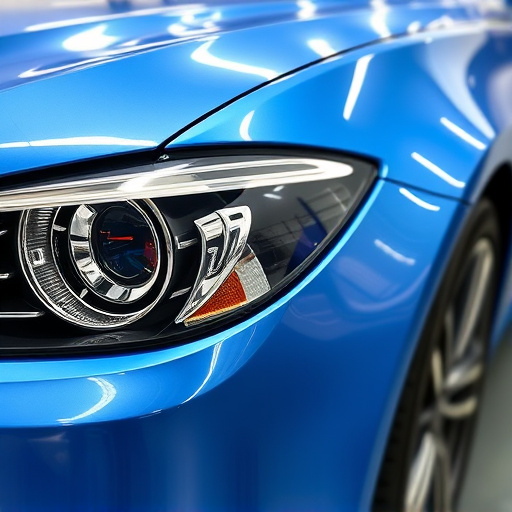
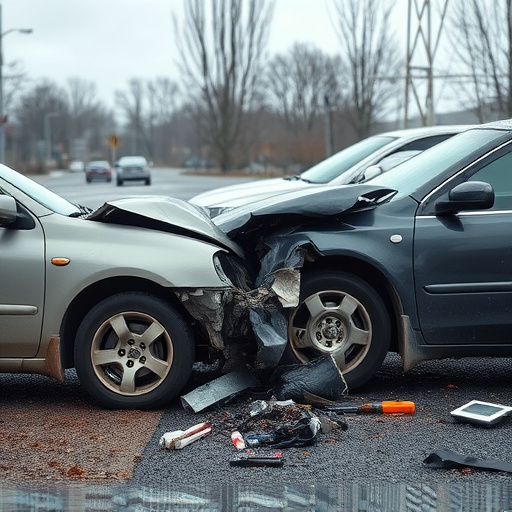
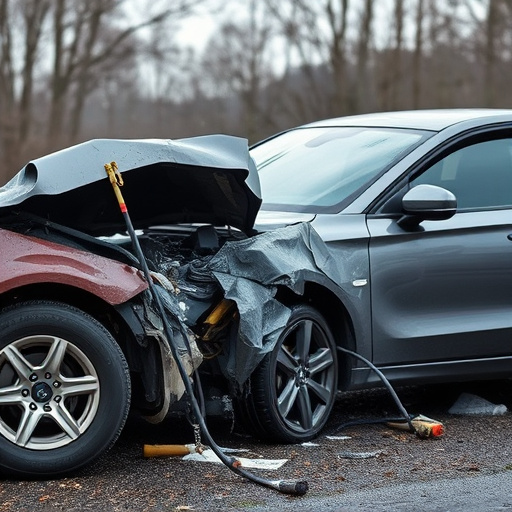
After a rear-end collision, the Tesla taillight assembly can sustain significant damage, often affecting both structural integrity and aesthetic appeal. Impact from behind can cause various issues, from cracked or broken lenses to misaligned or completely detached components. These issues not only compromise the safety features of the vehicle’s lights but also mar its overall look and value.
The degree of damage can vary, ranging from minor dents and scratches that may be suitable for paintless dent repair techniques, to more substantial structural deformities that might require replacement parts and professional auto painting services. Understanding the extent of the harm is crucial before attempting any repairs, as it dictates the appropriate course of action—whether through simple adjustments or complete Tesla taillight assembly replacement.
The Step-by-Step Process for Repairing Your Tesla's Taillight Assembly
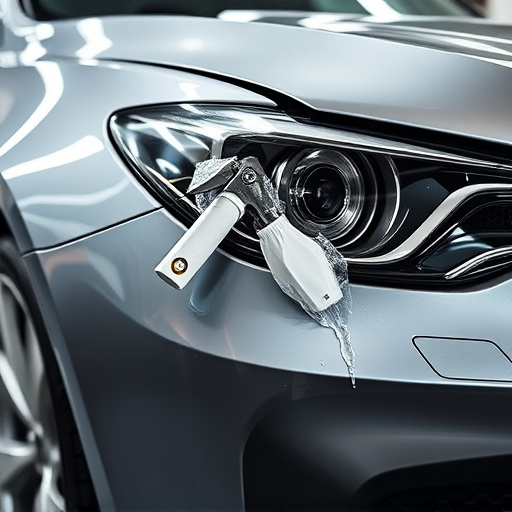
Repairing your Tesla’s taillight assembly after a rear-end collision involves careful and precise steps to ensure optimal functionality and safety. Begin by ensuring the vehicle is securely jacked up, with sturdy support for safe access to the taillight assembly. Next, carefully remove any debris or damaged parts from around the assembly, taking note of how components are connected.
Use specialized tools to loosen and remove the damaged taillight, being mindful of nearby wiring and sensors. Once the old tail light is out, clean the area thoroughly before installing a new one, following manufacturer guidelines for proper alignment and attachment. Test the new taillight’s functionality, including turn signals and brake lights, before lowering the vehicle and securing it to ensure a seamless and safe drive post-repair. Choose a reputable auto repair shop offering collision repair services for expert handling of such intricate tasks.
Tips and Best Practices for Ensuring Longevity After the Repair
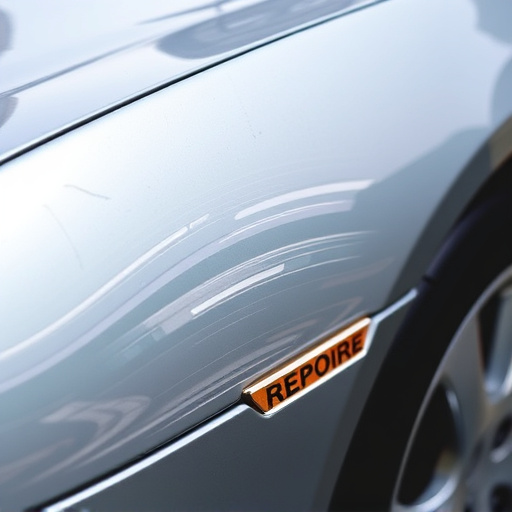
After successfully repairing your Tesla’s taillight assembly following a rear-end collision, implementing best practices is vital to ensure longevity and optimal performance. Begin with proper cleaning of the affected area to remove any debris or dirt that may have accumulated during the incident. This step is crucial for achieving a seamless finish and preventing future issues.
When reassembling the taillight, double-check all components, including connectors and hardware, ensuring they are securely fastened. Regular maintenance, such as inspecting for any signs of wear or damage and keeping the assembly clean, will contribute to its extended lifespan. Additionally, consider periodic checks at a reputable collision repair center to assess overall vehicle health, addressing any related auto bodywork concerns promptly.
After a rear-end collision, repairing your Tesla’s taillight assembly is crucial for both safety and aesthetic restoration. By understanding common damage types and following a meticulous step-by-step process detailed in this article, you can effectively address the issue. Adhering to best practices, such as using genuine parts and proper alignment techniques, ensures longevity and optimal performance of your Tesla’s taillight assembly repair. Remember, a well-executed repair job not only enhances road safety but also preserves your vehicle’s value and appearance.