

Tesla owners frequently face taillight assembly issues due to design complexities, UV exposure, and road debris. Regular inspections during auto maintenance are key to preventing further damage. This guide, tailored for non-mechanics, offers a step-by-step approach to Tesla taillight repair, focusing on common problems like cracks and chips. Many repairs can be straightforward, adhering to road regulations, but severe damage may require professional auto body work. Simple practices like light inspections and lens cleaning, coupled with expert services for painting and corrosion protection, ensure optimal condition and safety of Tesla taillight assemblies over time.
Tesla owners often face unexpected issues post service center inspections, with one common problem being malfunctions with the taillight assembly. This comprehensive guide tackles the intricacies of Tesla taillight assembly repairs, offering a detailed step-by-step process for DIY enthusiasts and insights into preventive maintenance tips. Learn how to address this challenge effectively, ensuring your Tesla’s safety and reliability on the road, while also saving on potential future repairs.
- Understanding Tesla Taillight Assembly Issues Post Service Center Inspection
- Demystifying the Repair Process: Step-by-Step Guide
- Tips for Effective Maintenance to Prevent Future Taillight Assembly Repairs
Understanding Tesla Taillight Assembly Issues Post Service Center Inspection

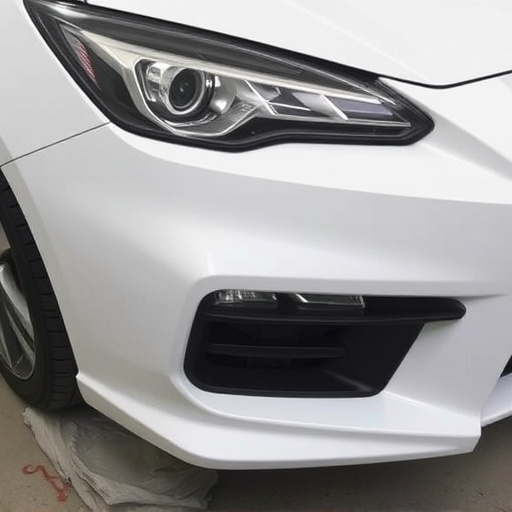
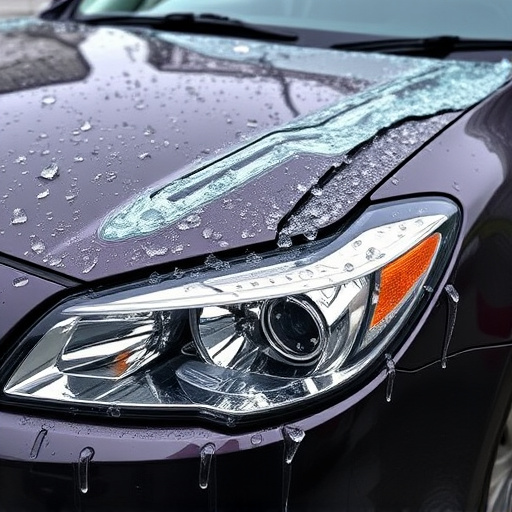
After a Tesla service center inspection, many owners find themselves facing issues with their vehicle’s taillight assemblies. These problems can range from minor cosmetic concerns like cracks or chips in the lenses to more significant structural damage that compromises the light’s functionality. Understanding these common taillight assembly issues is key when considering a Tesla taillight assembly repair.
In many cases, the root cause lies within the intricate design and materials used in Tesla vehicles. The car bodywork, known for its sleek aesthetics, may be susceptible to environmental factors such as UV exposure and road debris, leading to degradation over time. As part of regular auto maintenance, it’s important to inspect these components regularly. Prompt repair or replacement can prevent further damage, ensuring optimal visibility and safety during nighttime driving.
Demystifying the Repair Process: Step-by-Step Guide

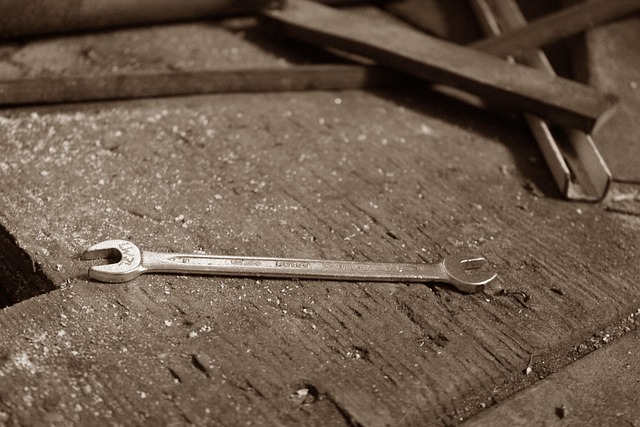
When it comes to Tesla taillight assembly repair, understanding the process can significantly ease your mind and wallet. Here’s a demystifying guide that breaks down the step-by-step procedure, making it accessible for even non-mechanics. Start by removing the affected taillight, often requiring the release of latches or screws securing it to the bumper (or body panel). Next, inspect the surrounding area, including the bumper and any connected components, as issues with these can indicate a more comprehensive repair than just replacing the taillight assembly itself.
With the old part removed, you’ll assess the condition of the housing, lens, and internal components. Common issues include cracks, chips, or dislodged parts that might be easily repaired or replaced. If the damage extends to the bumper or other adjacent areas—as sometimes happens after minor collisions or car scratch repairs—a more extensive auto repair service may be needed. However, for a simple Tesla taillight assembly repair, you can expect a straightforward solution, ensuring your vehicle is safe and compliant with road regulations.
Tips for Effective Maintenance to Prevent Future Taillight Assembly Repairs

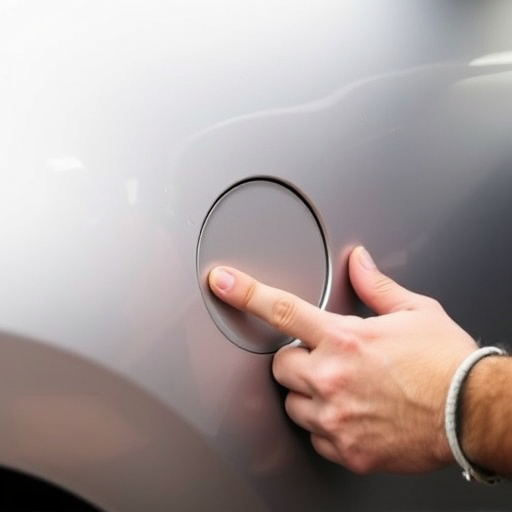
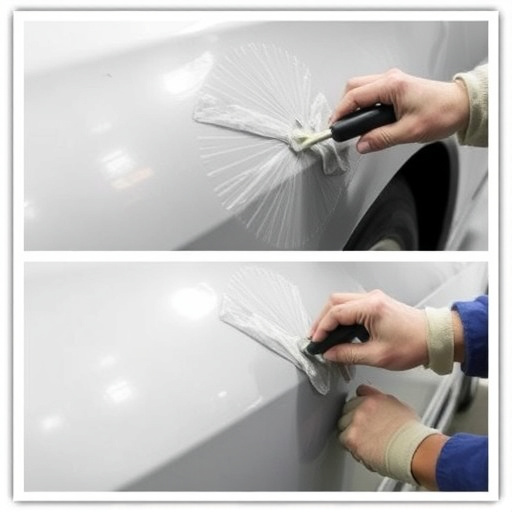
Regular maintenance is key to keeping your Tesla’s taillight assembly in top condition and preventing costly repairs down the line. One of the simplest yet effective practices is to regularly inspect the lights for any signs of damage, corrosion, or loose connections. Cleaning the lenses with a dedicated cleaner can help restore their clarity and prevent dust accumulation. This simple step ensures optimal visibility and light projection, enhancing safety on the road.
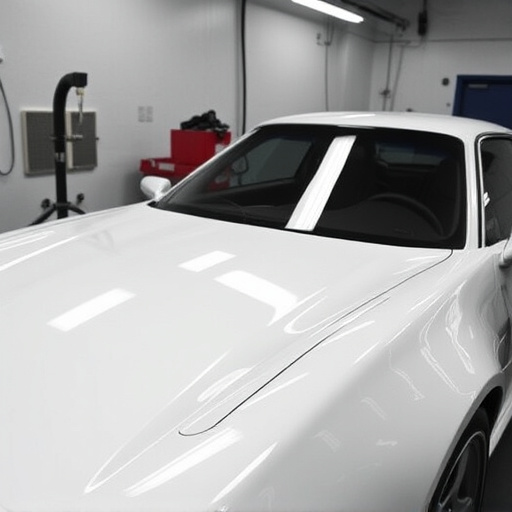
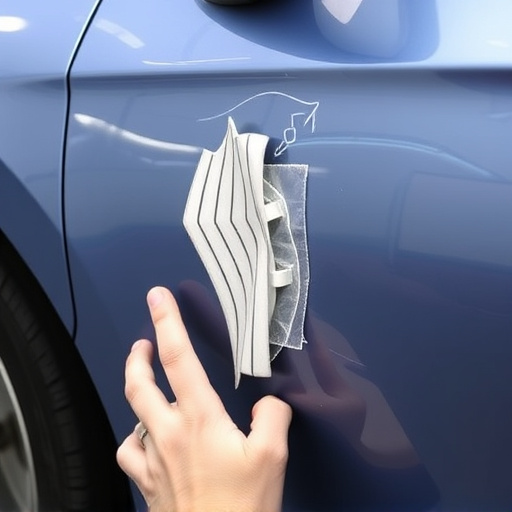
Additionally, keeping an eye on the surrounding areas, including the fender and body panels near the taillights, is crucial. If you notice any dents, scratches, or signs of previous accidents, addressing these issues promptly through expert body shop services can prevent further damage. Regular auto painting and maintenance not only improve the aesthetic appeal but also play a vital role in protecting the intricate taillight assembly from corrosion and potential failures, ensuring your Tesla remains reliable and safe for years to come.
After thoroughly examining the various aspects of Tesla taillight assembly repairs, it’s evident that proactive maintenance and a clear understanding of potential issues can significantly reduce future repairs. By familiarizing yourself with common problems post service center inspections and following the step-by-step guide provided, you’ll be well-equipped to address minor issues promptly. Remember, regular checks and timely attention to any discrepancies can save you from more complex (and costly) repairs down the line. For effective long-term solutions, implementing the maintenance tips outlined in this article will ensure your Tesla’s taillight assemblies remain functional and reliable.